Raspberry Alpha Omega

Raspberry Pi from start to finish

Freescale Kinetis KwikStik (part 1)

Jul 10, 2015 - 4 minute read -

Although I had some success with using the Segger firmware on a Freescale FRDM board to program a KE04 microcontroller on a header board recently, I was very aware that I was being naughty. The terms of use for the Segger firmware make it clear that it is only for programming and debugging genuine Freescale FRDM development boards, and should not be used for custom hardware. I don't like to break such terms, and the Segger folks deserve to be rewarded for the effort they put into making such useful tools. So I have ordered a real Segger™ J-Link™ and hope to have a lot of fun with it. In the meanwhile, though...

My collection of microcontroller development boards is sufficiently rambling, that the addition of a new one is hardly news. However, I recently noticed that Freescale also sell an interesting development board for their K40 series of Cortex M4 chips. It comes with a variety of peripherals on the board including a graphic LCD, capacitive button pads, microphone, audio output jack and even a rechargeable battery. Most interesting, though, is that it includes Segger debug firmware with much less restrictive usage terms.

The Freescale page for the board states:

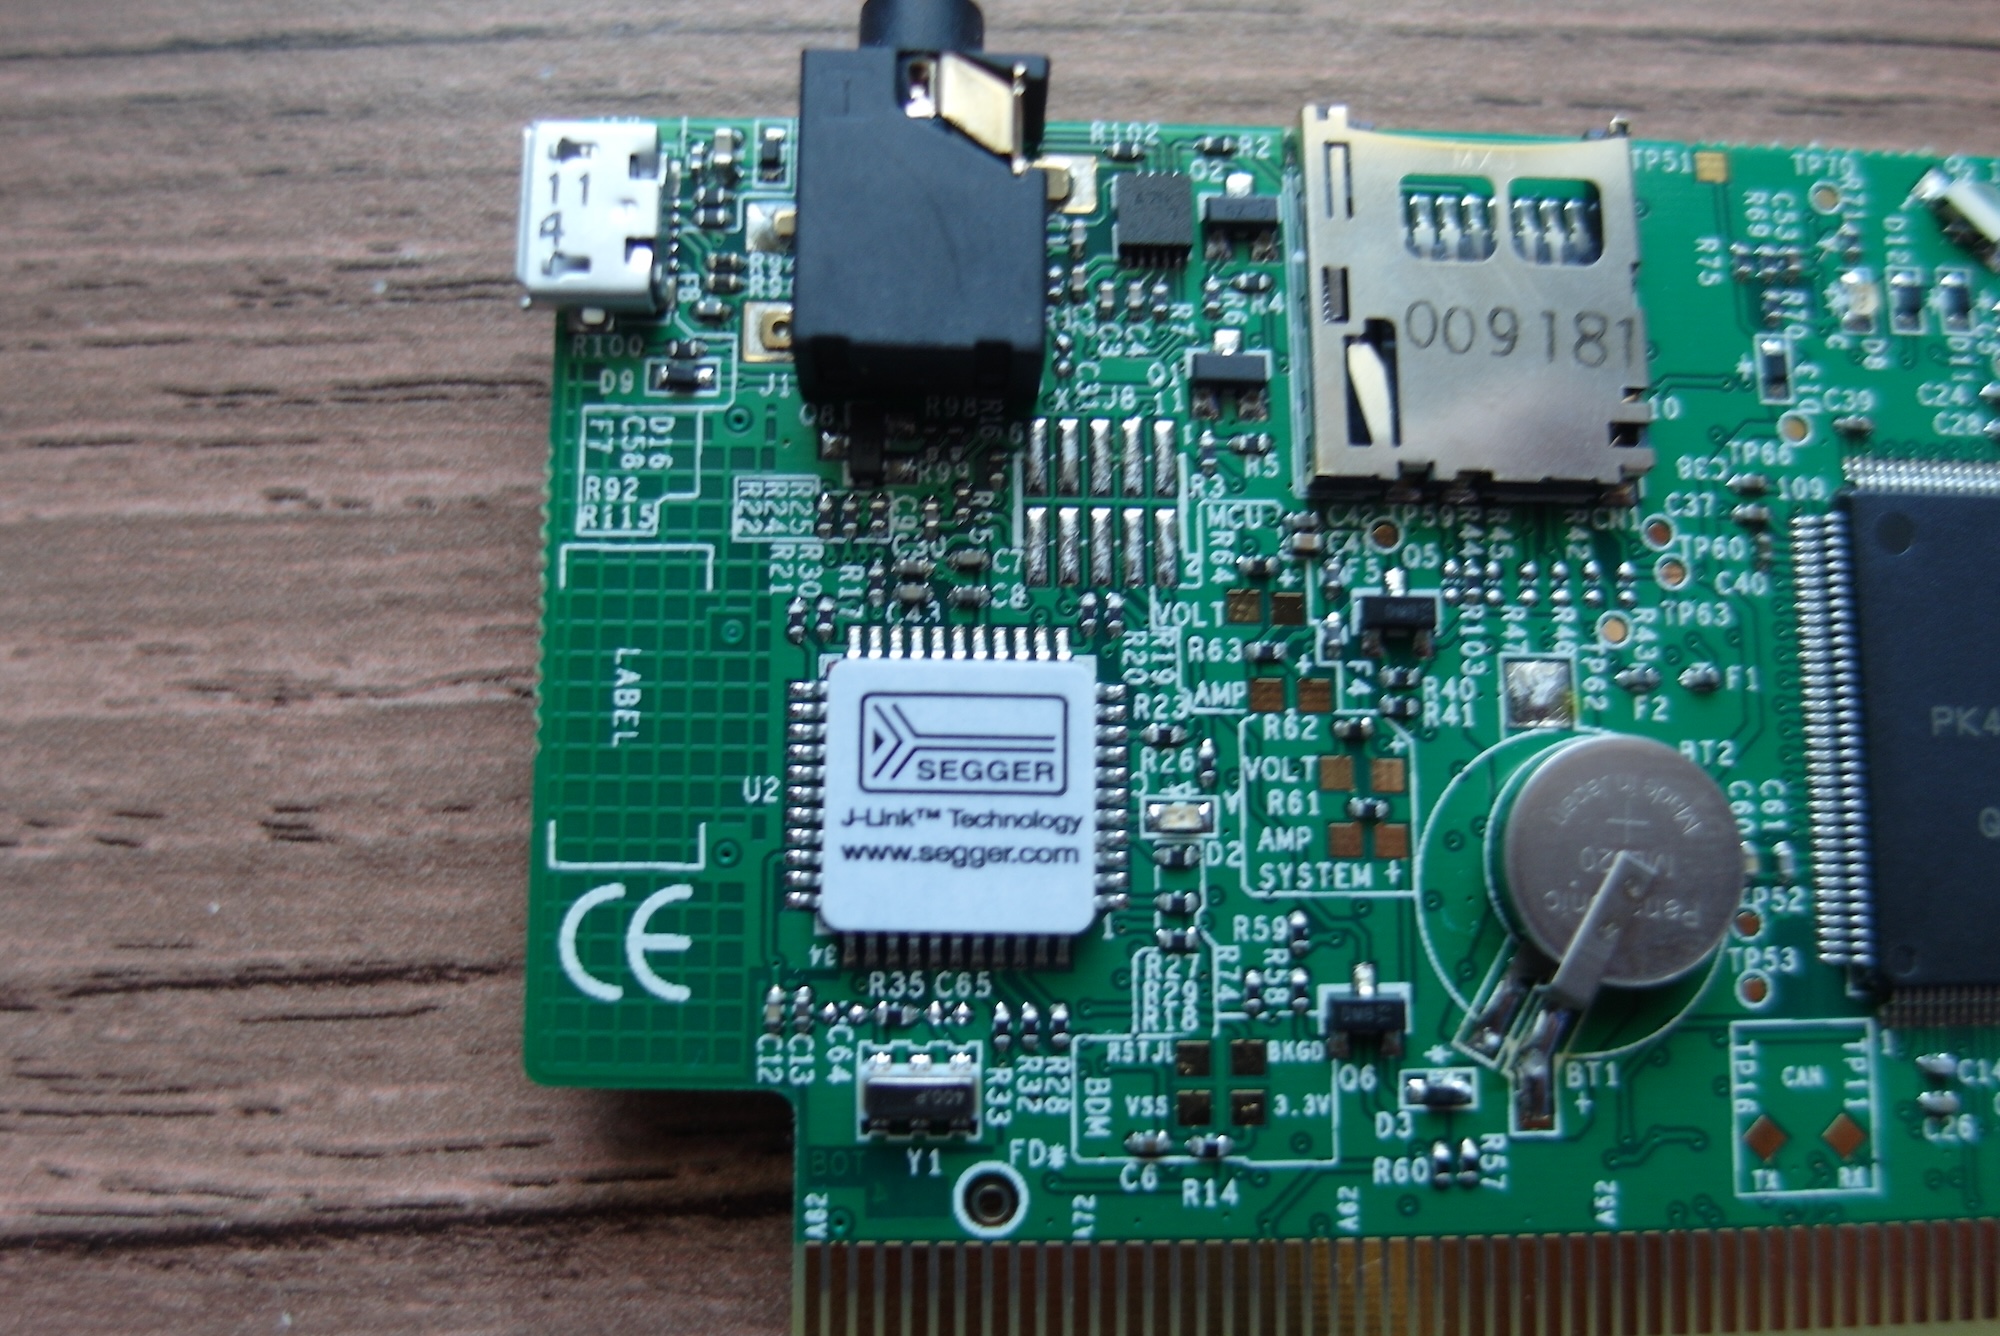
The on-board Segger™ J-Link™ debug interface allows the user to evaluate the features of the on-board K40 MCU or to develop, debug and program their own target hardware based on any Kinetis MCU.

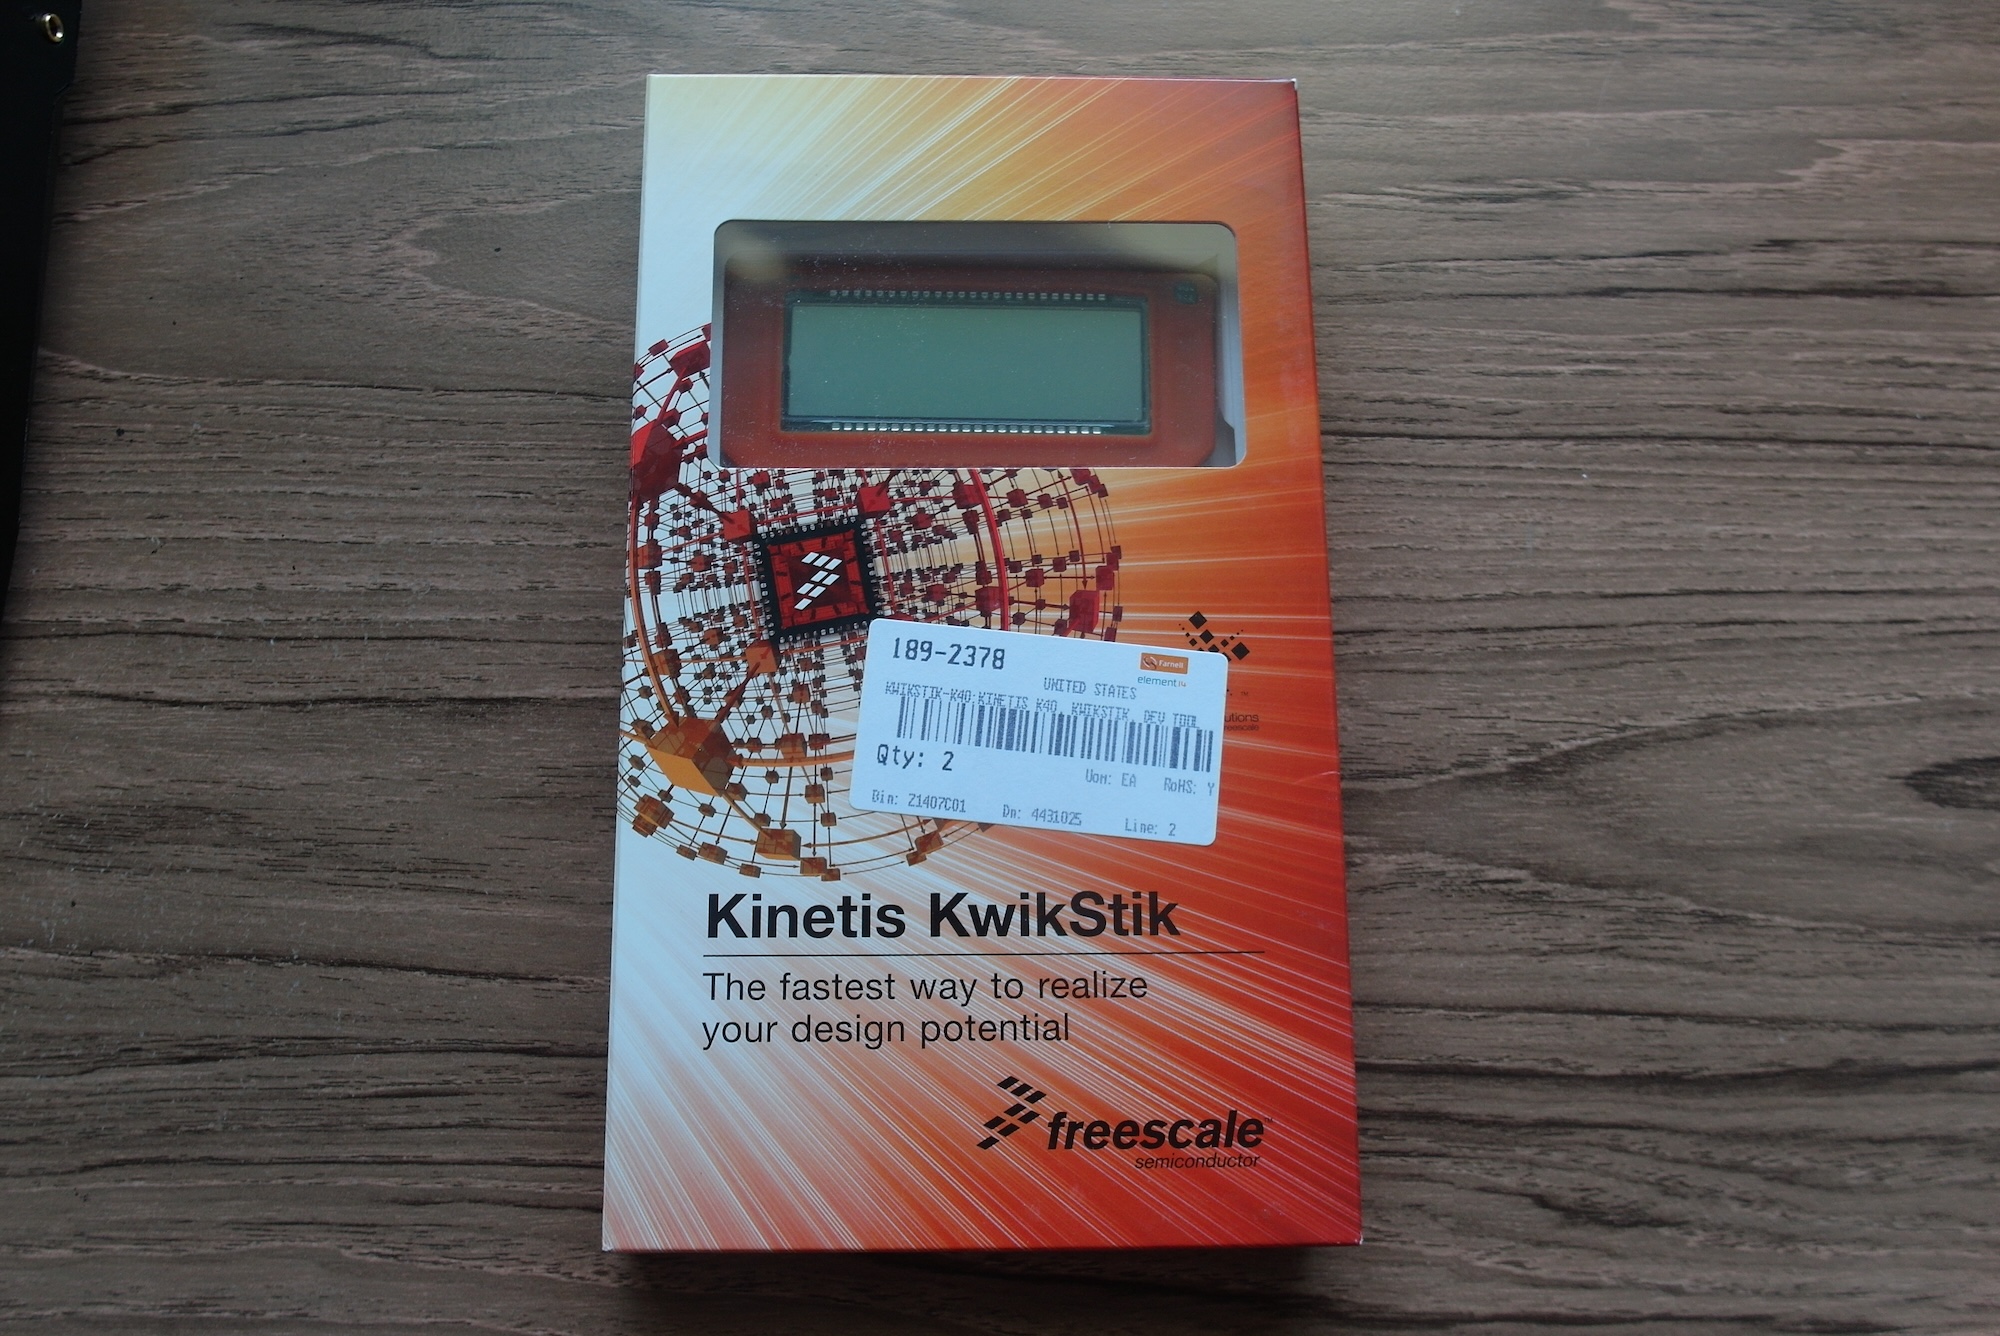
This seems just what I want for now. And at around £30-35 from the usual suppliers it's about 10% the price of the Segger J-Link Base model!

On opening the box, the board itself comes in a cute orange silicon sleeve with branding from Freescale and " Pounce Consulting" who seem to be a design company in Mexico. Plugging in a micro-USB power connector starts up some demo software including a kind of low-res monochrome tetris game and a sound recorder. I found this software very confusing and frustrating to use with the un-labelled capacitive button pads, and all I could get was noise from the sound recorder, so I think it's probably best used for development or as a debug probe rather than as an application platform on its own.

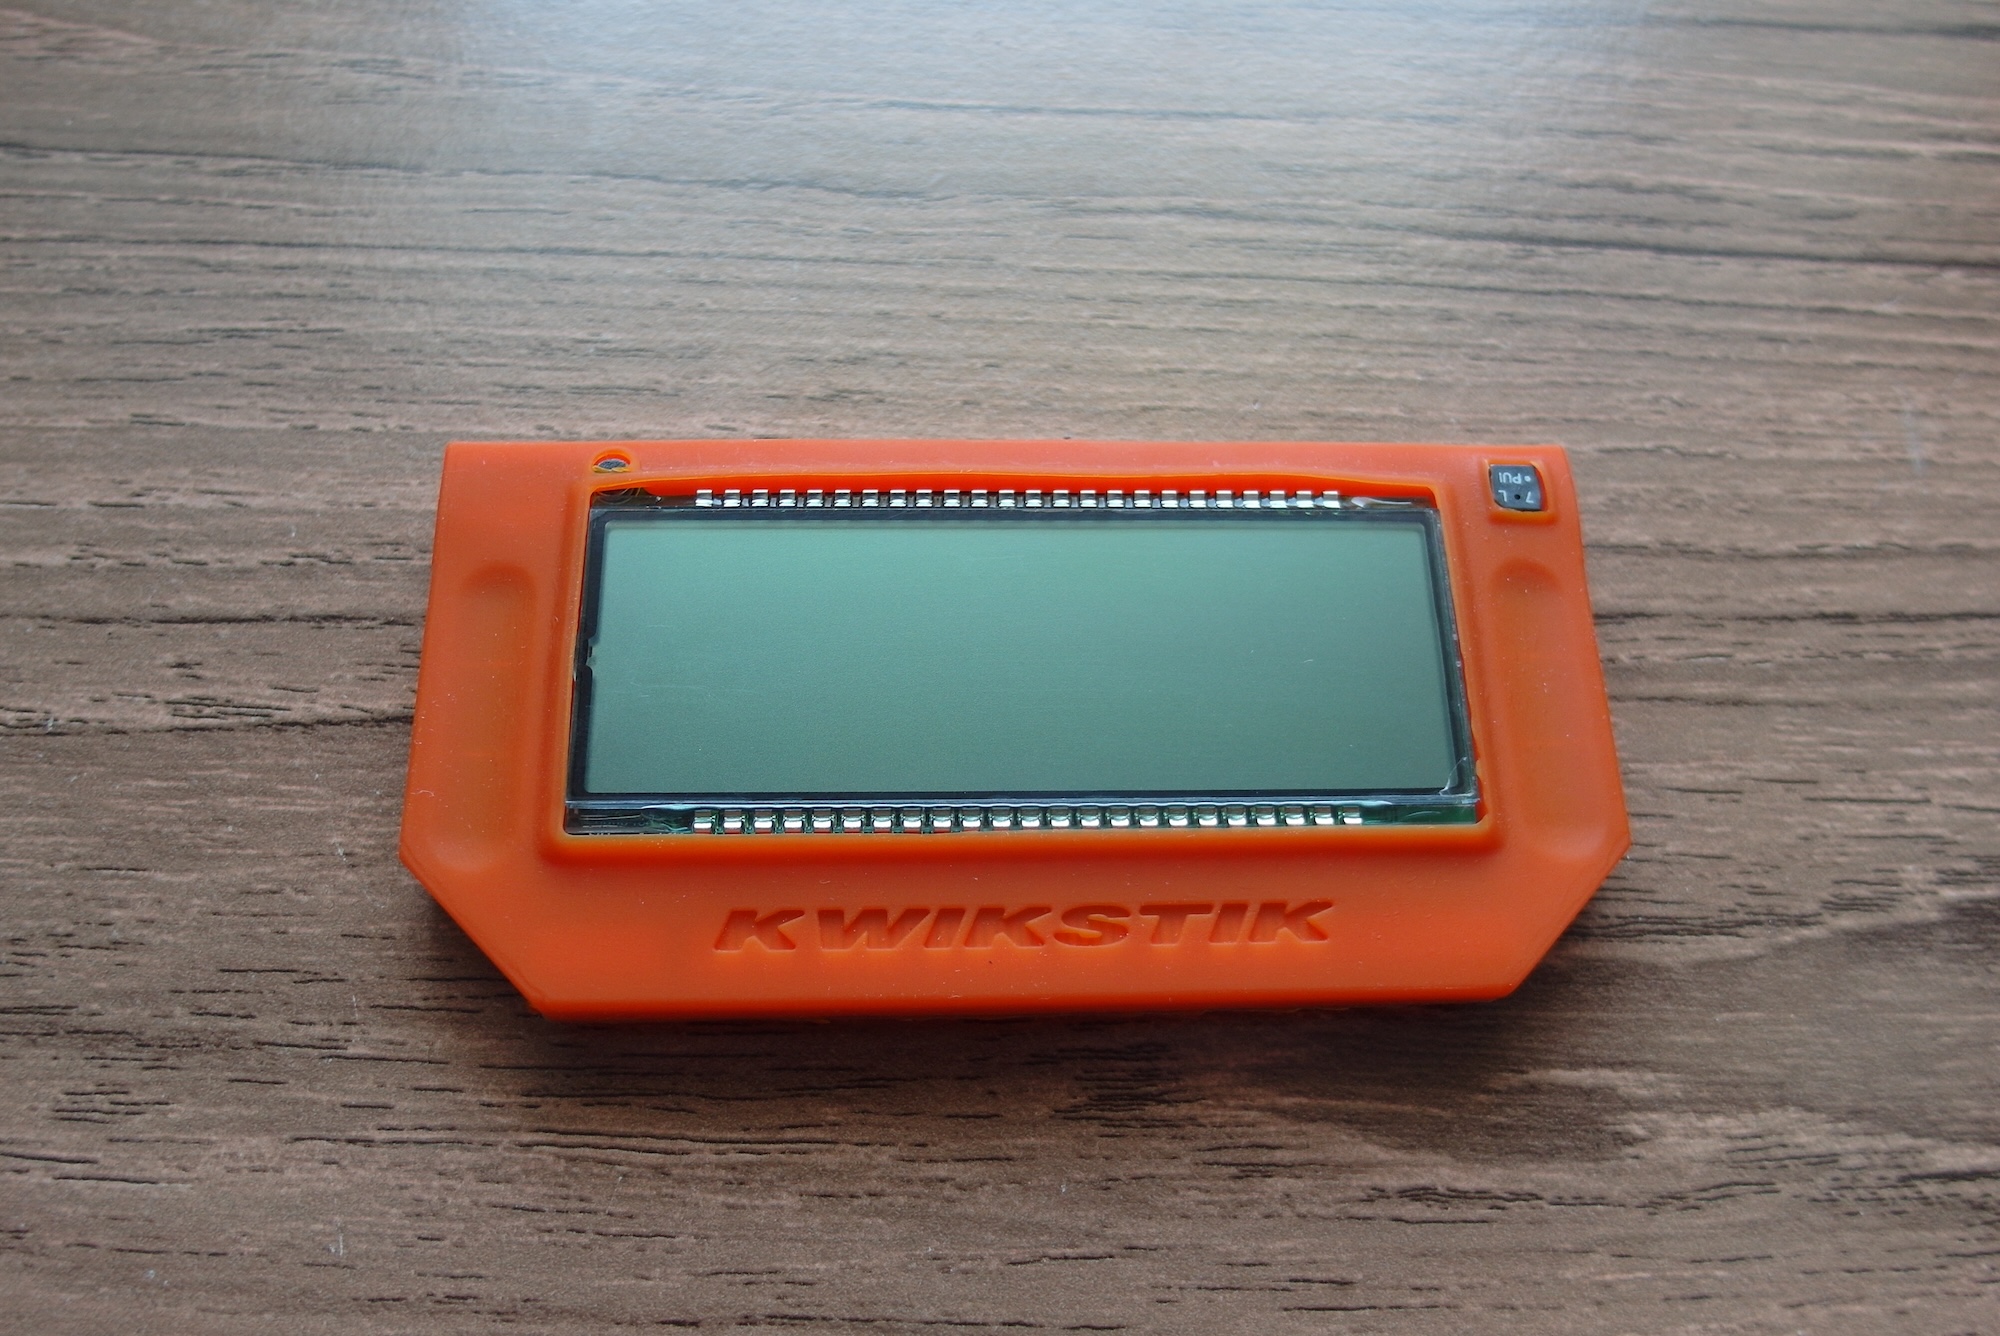
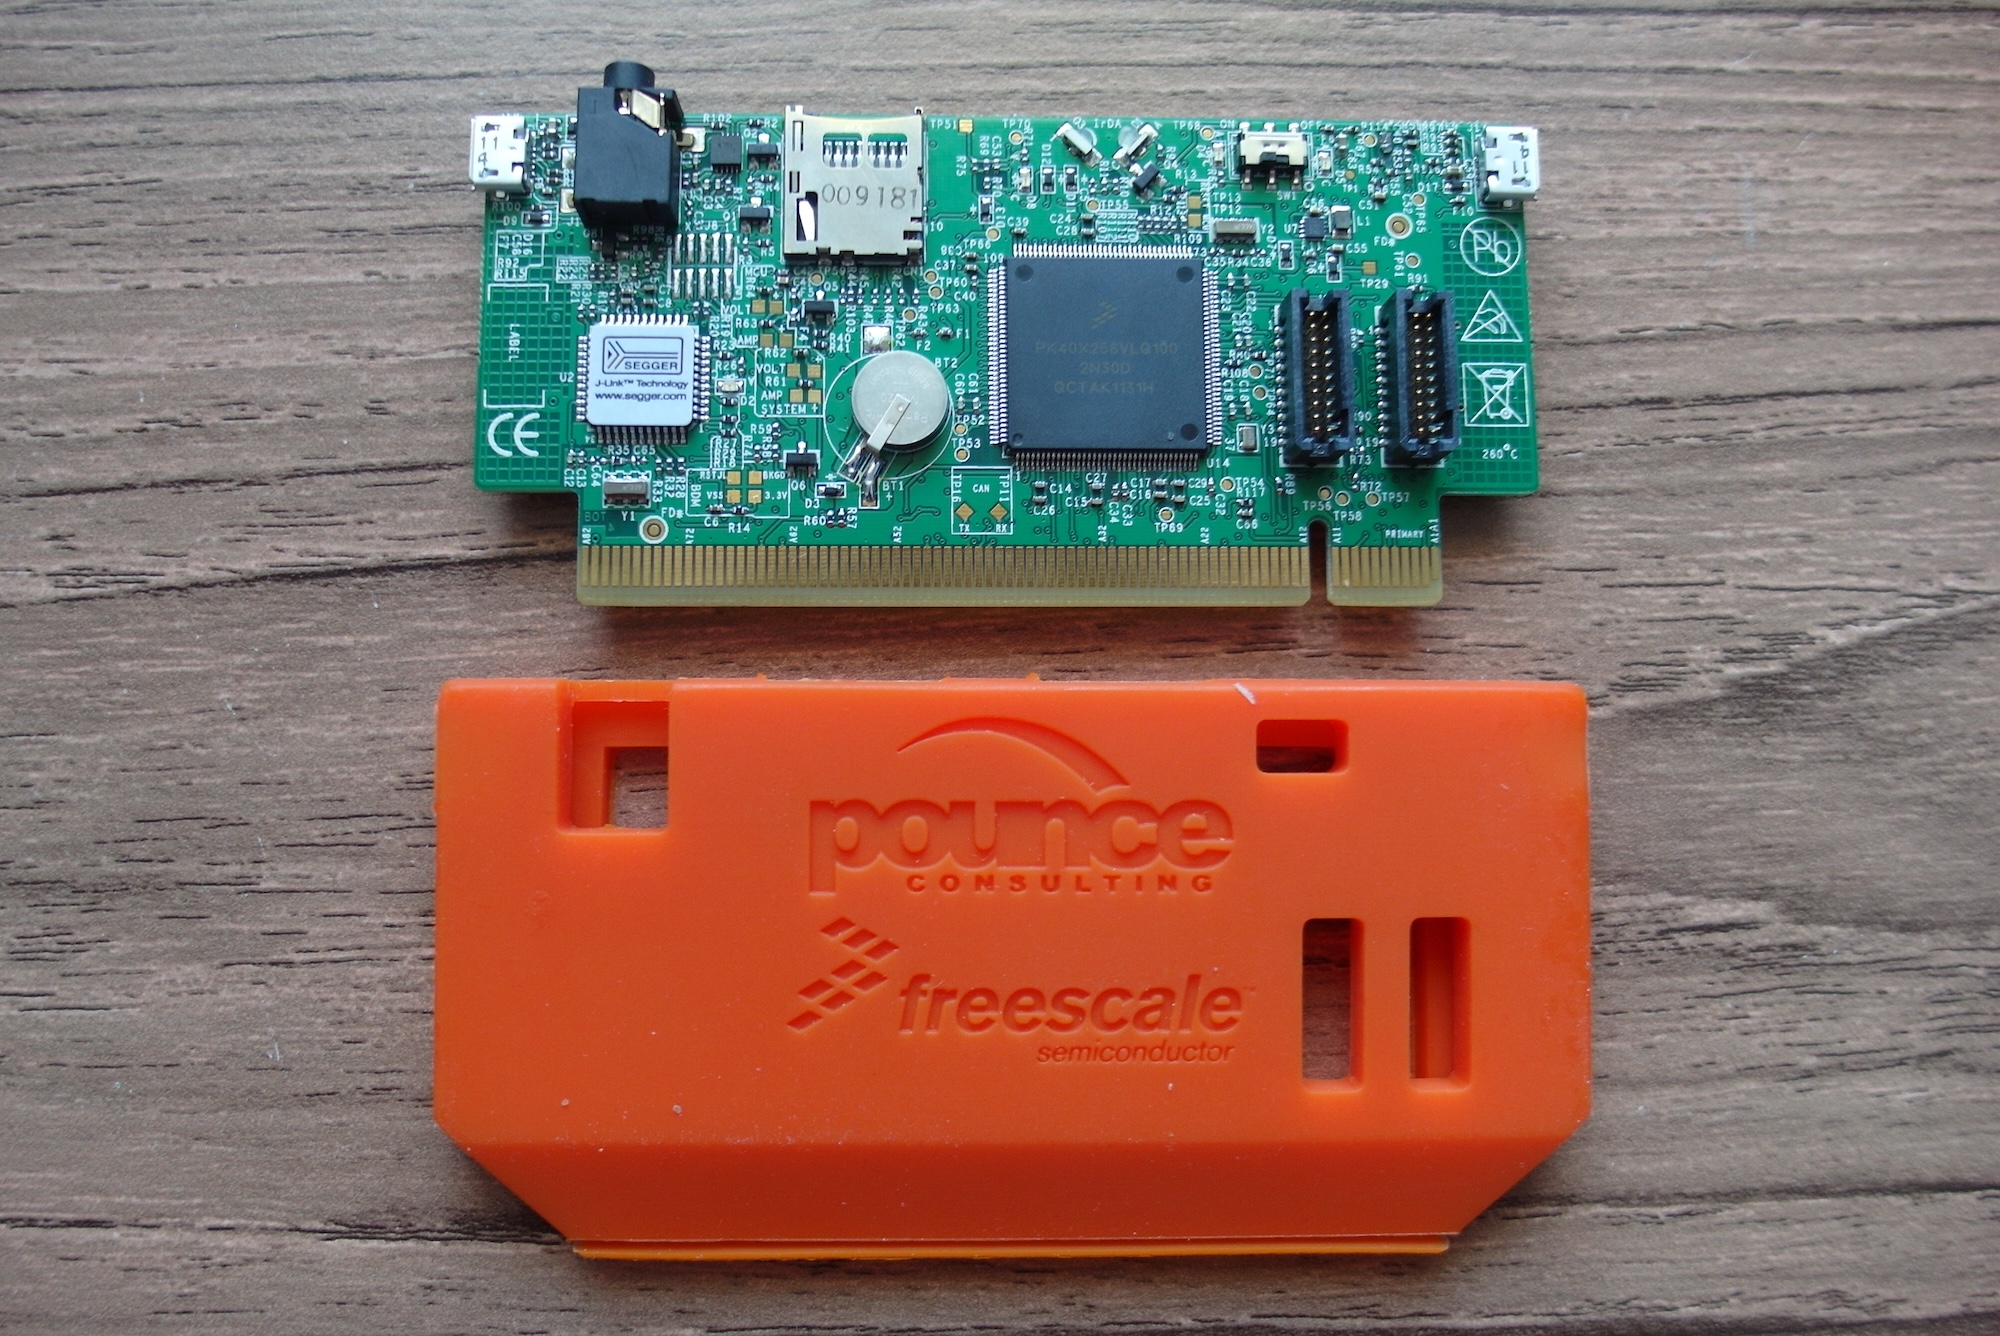
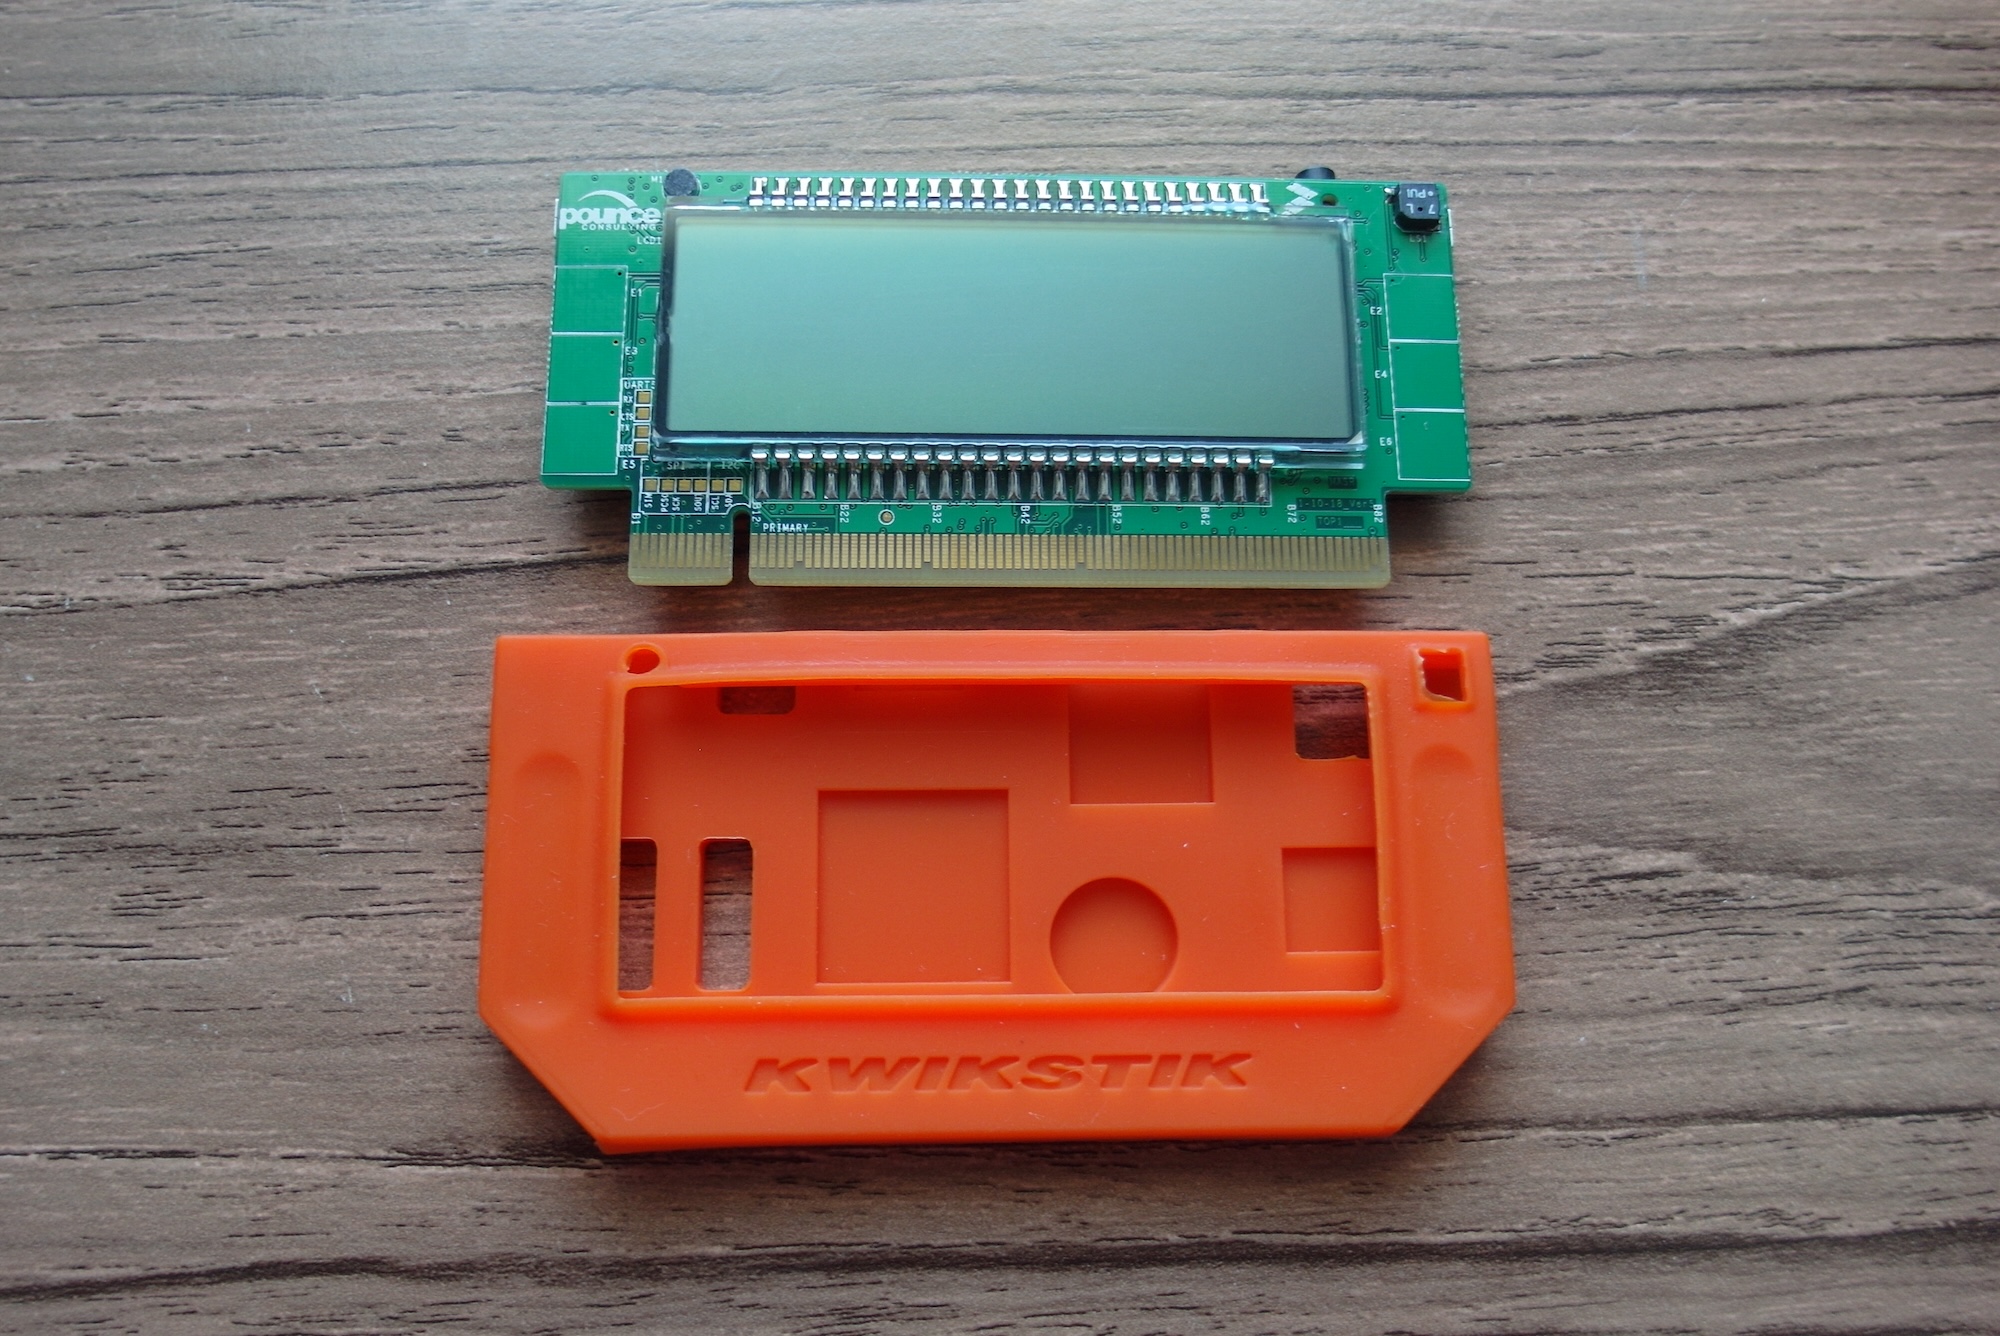
The silicone skin is a bit tricky to peel off, but once it is removed you can see that you get quite a lot of stuff for your money, The main MCU is the 144-pin K40X256VLQ100 with a Cortex-M4 core running at 100MHz, 256K of Flash, 256K of RAM and loads of i/o including USB and 6 UARTs. I/O pins are brought out to an edge connector and some sockets specific to the Freescale TWR development framework and there's an array of interfaces along the top. Two micro USB, micro SD socket and infra-red. On the other side there's the large (if low-resolution) display panel, a tiny electret microphone capsule and a little buzzer.

The annoying part of this, however, is that you can't use it as a debug probe out of the box. There's a lovely Segger-branded debug chip, there's a handy switch to flip it from internal to external target (no track-cutting, hurrah!), but the vital connector for the external JTAG/SWD lead is not populated. Worse than that, it's not even the same connector as on the other boards - those are all through-hole connectors and this one is surface mount, so I need to order a connector specially. It also looks like I will need to 'adapt' the silicone skin if I plan to use it, as there is no obvious hole for the debug cable.

I won't be able to test this out as a debugger until I get and fit the new connector. Sigh.

So I give this board a smile for features and price, so-so for the demo software and a scowl for the lack of a populated debug connector.

ARM ARM Cortex board cortex debug display freescale Freescale hardware jtag LCD m4 review Segger swd


Comments

  1. Erich Styger

    Congrats on the KwikStik. I have a few of them in my inventory too, but actually I'm not using them any more. Yes, you are supposed to be able to use that Segger interface, but I never was able to make it work (maybe I did not try hard enough?). The bigger issue is that the Kinetis device on that board is an early revision, with several nasty silicon issues (fixed in later releases). It seems that there are different revisions of boards too, fixing some of the board issues. So depending on what you have as board, you might have better luck than me. It was too troublesome to deal with all the differences, so I shelfed the three boards I had. To bad, as it was really promising to have a cute board with LCD and SD card socket! As for Segger: yes, I'm very happy with my J-Links I use. And what many might not know: the J-Link EDU (Educational version, white enclosure) is priced very, very reasonable. And it is not only for educational purpose, but for any non-profit/hobby work too :-). So we are using them for teaching in the classes (we are using P&E Universal Multilinks too), and I can use it for my own hobby projects :-)

  2. Frank

    Since writing this I have made more progress with this board (new blog post coming soon). The board did not work at first. and I had to update the firmware using the Segger tools, and re-start it a few times with the target switch in both positions, but did get the J-Link working in the end. The tricky bit was definitely soldering the SMT header; it's in such a fiddly location.

Leave a Reply

Your email address will not be published.