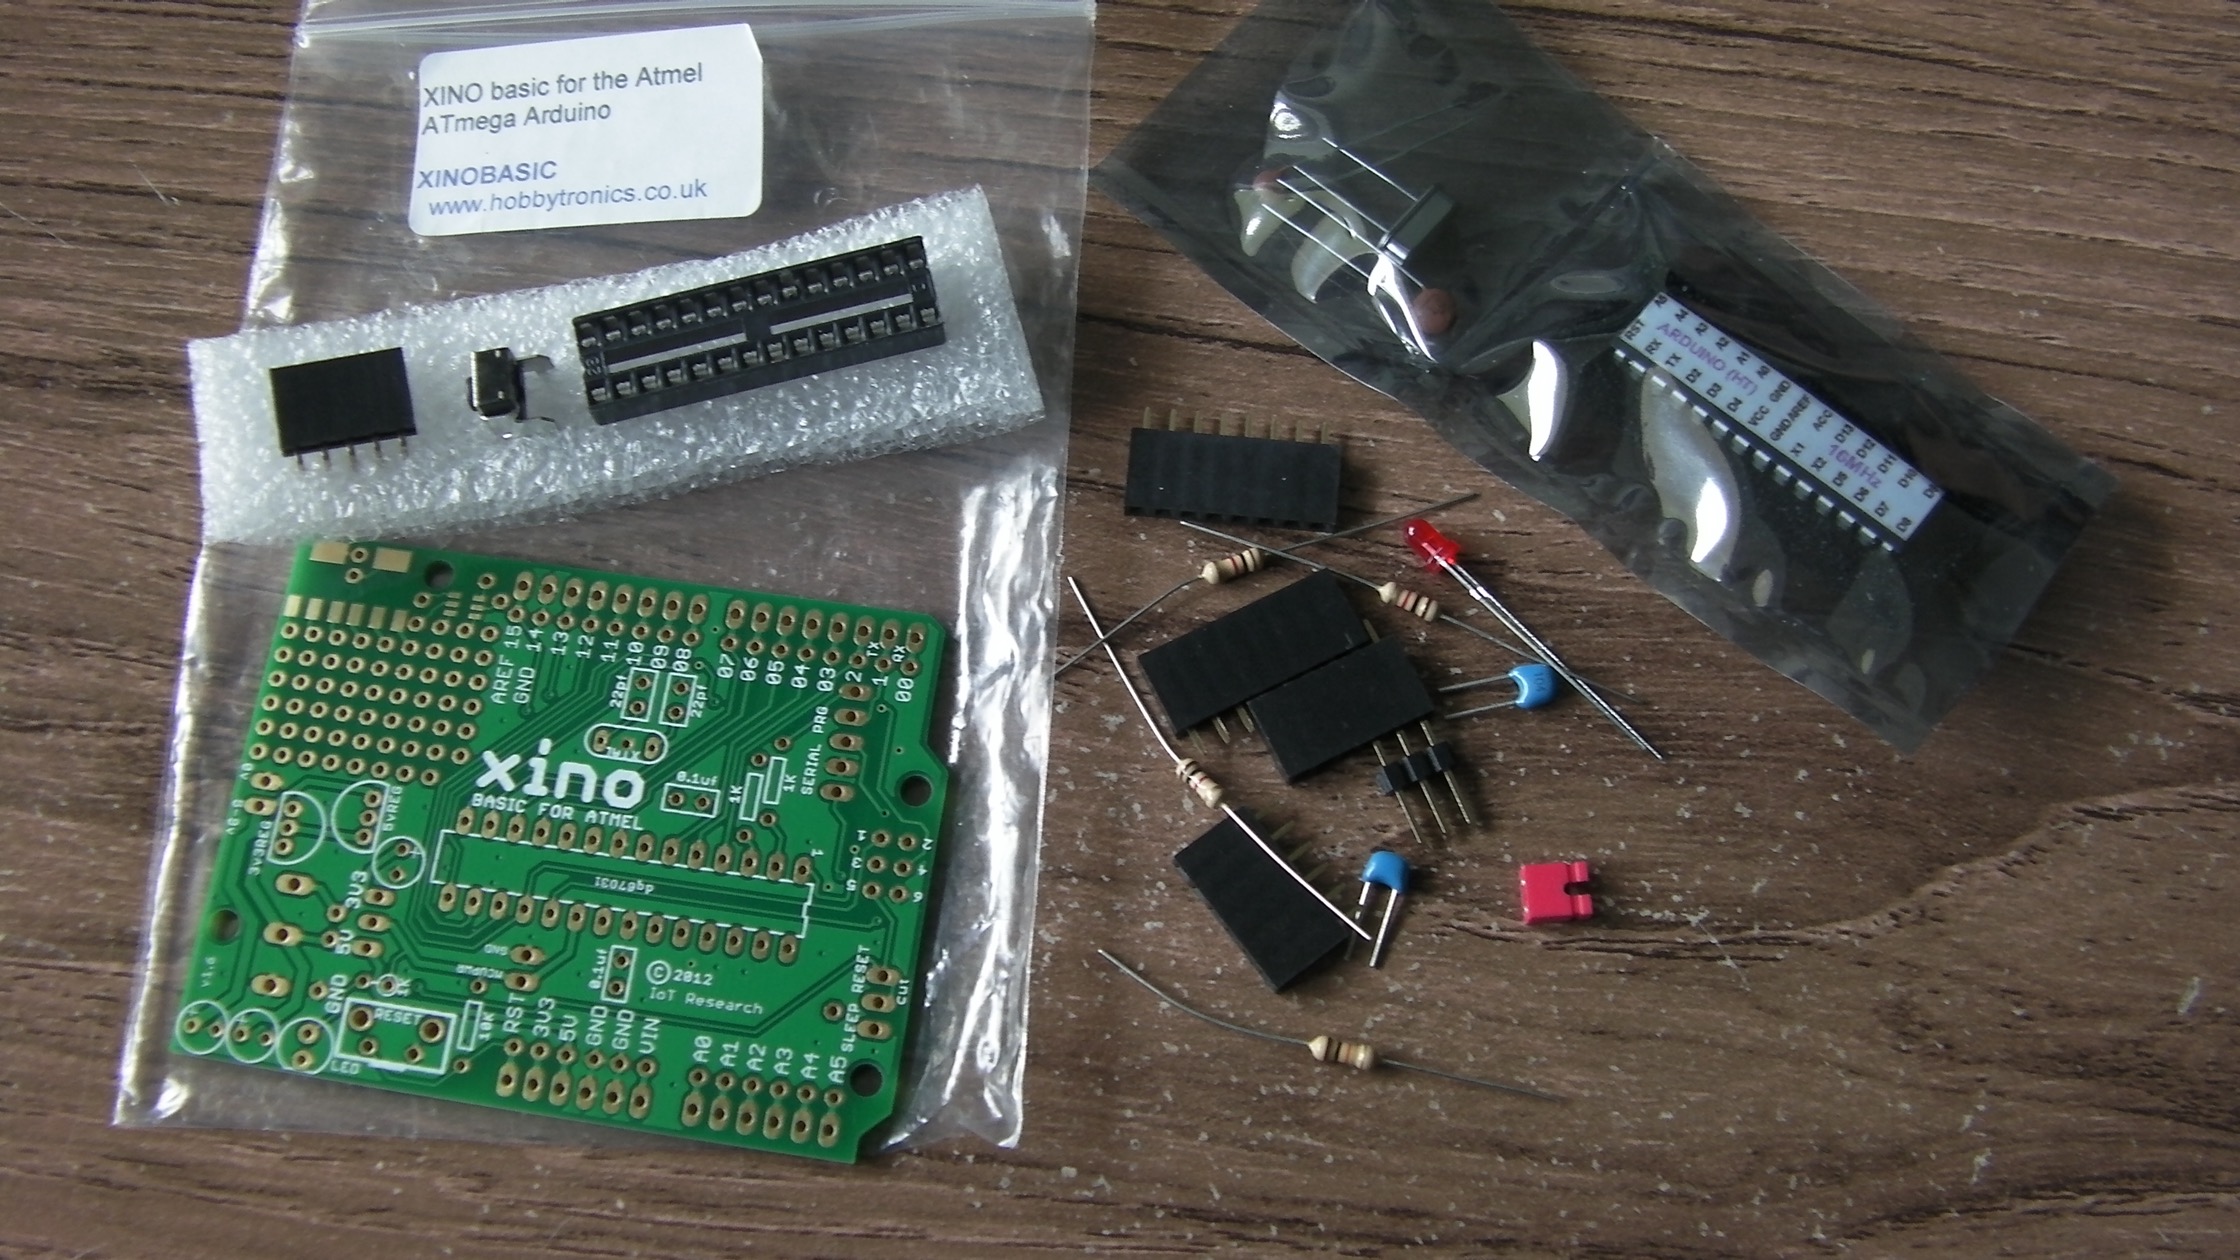
You'd think I would be fed up with Arduinos after all that messing about with one connected to a Raspberry Pi, but while playing with that it occurred to me that some months ago I had bought a nicely cheap Arduino board kit (Xino Basic for Atmel), assembled it, but not managed to program it, so I had tossed it back in the "later" box.

My initial attempts at programming used the five-pin power and serial programming connector mounted on the edge of the board. Despite trying several serial interface boards, and as many combinations of cable connections as I could think of, I could still not get it to respond to the Arduino IDE. Since then both my skills and my collection of equipment have improved, so I reckoned it was time to have another go.
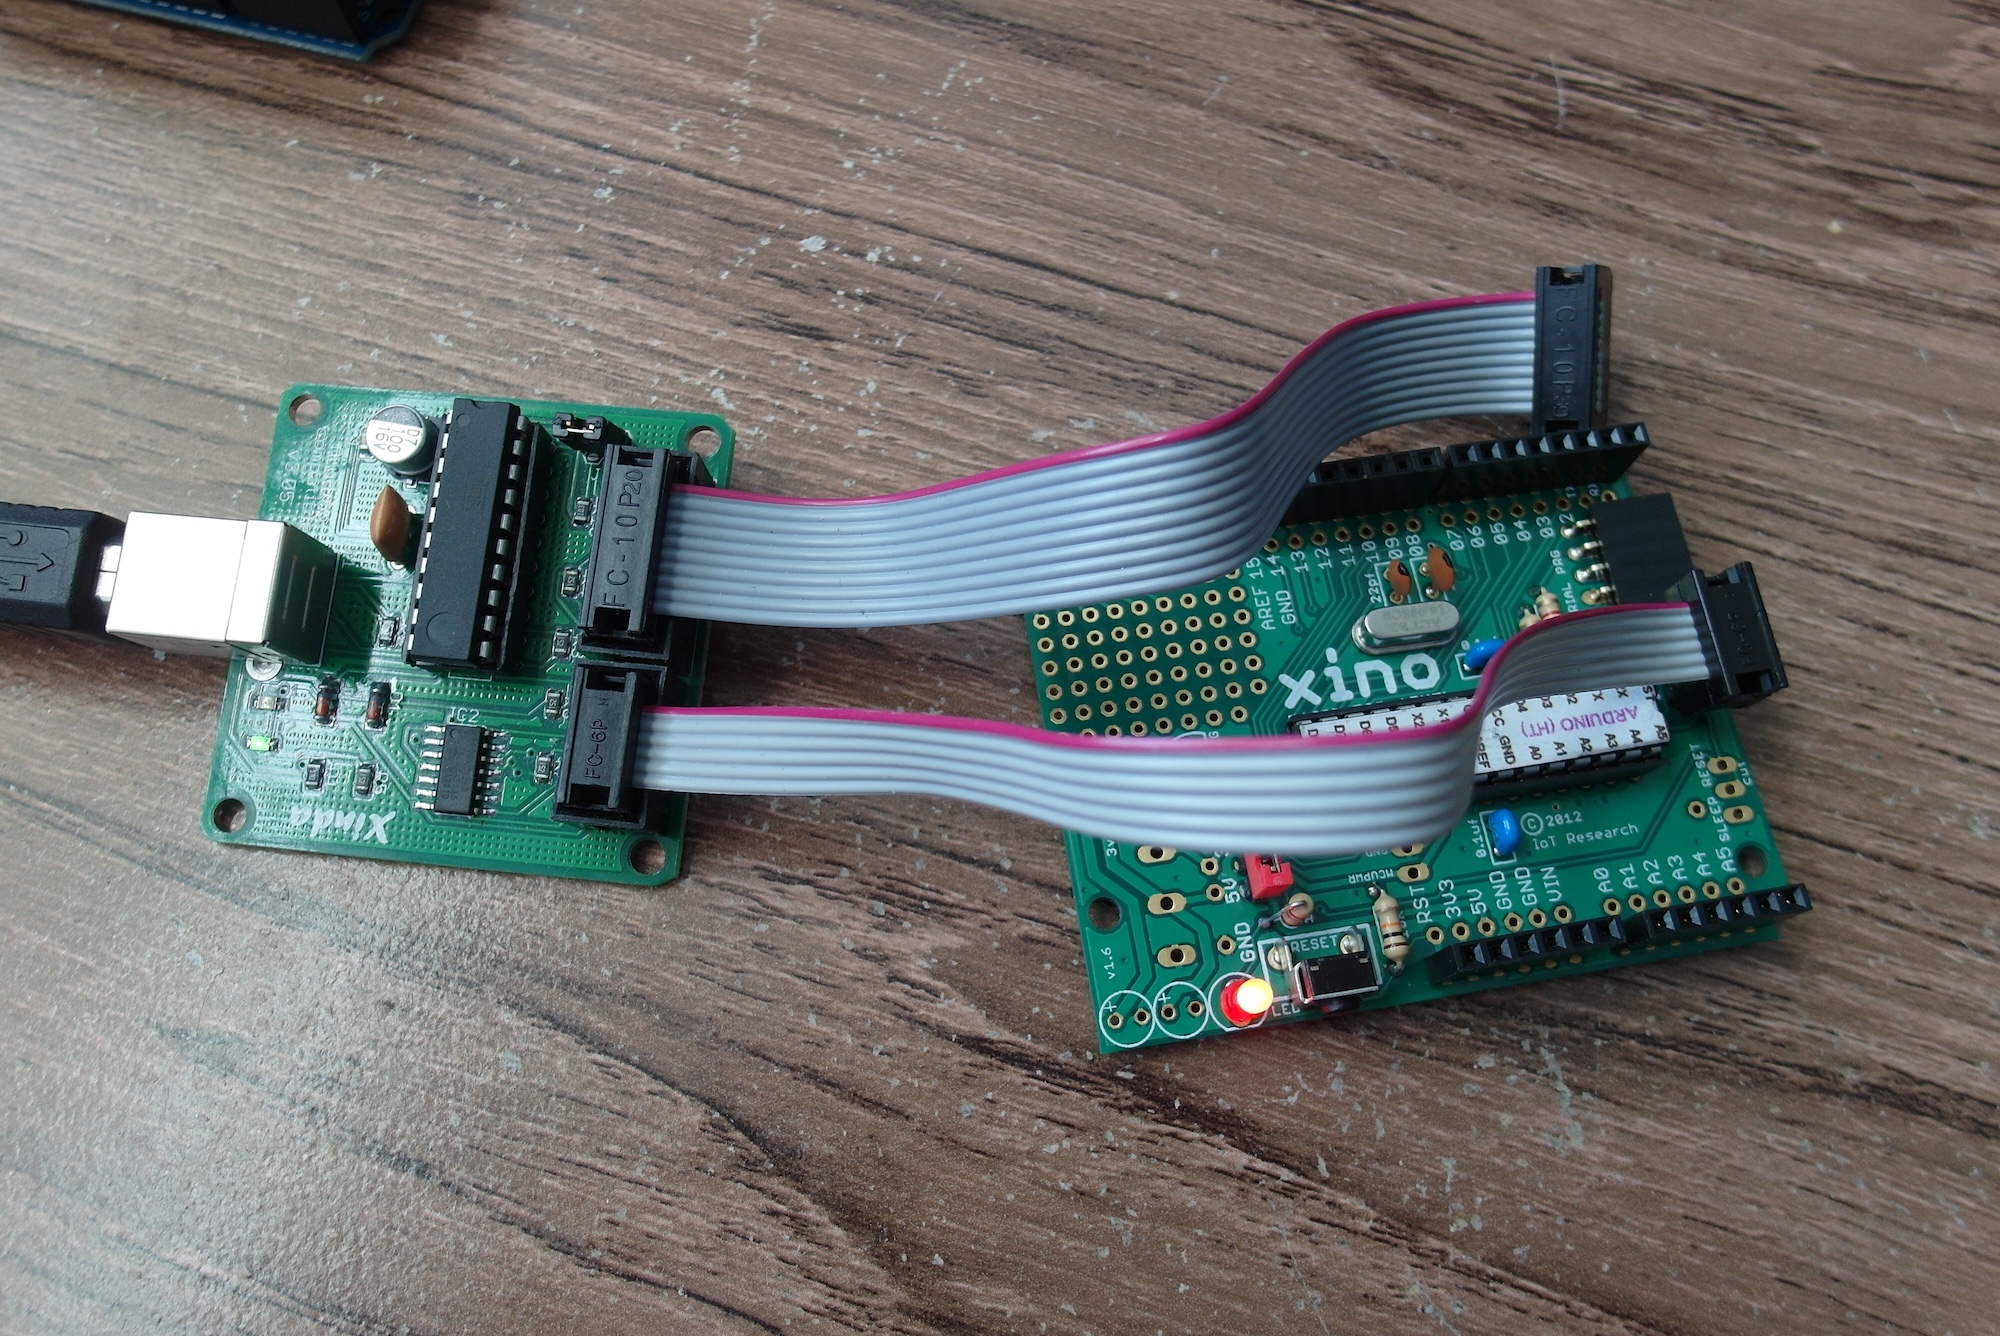
Step one was to program a chip using my hand built 'Arduino ISP' to check that the board assembly was correct. Blinking LEDs and my two way serial port test program showed that everything was OK in that department. Continually pulling the chip out of the socket was clumsy, though, and, despite my best efforts, was beginning to bend the legs a bit. So step two was to leave the chip in place and program it that way. The Xino board has solder pads for the 2x3 Atmel ICSP header, so it looked like I just needed to solder in some pins. Luckily I have one of the more recent versions of this board (it says (c) 2012 IoT Research), so I can connect both the ICSP and serial connectors at the same time. Apparently on the 2011 version of the board, the two connectors overlapped and could not be fitted at the same time. You can see a picture of one at the Ciseco page for this board.
Now that I have this board working, the more I look at it, the more I like it. It's cheap and comes with everything you need apart from the MCU, crystal and capacitors, but I have plenty of those now, and I can always run the ATMega chip without a crystal if I want to. I can also leave off most of the other components and connectors if I don't want them. Even better, the board has a small but useful prototyping area and through-hole pads for all the Arduino pins so it would make a very easy and low cost way to embed an "Arduino" in a project.
I might just order a few more...