As I mentioned at the end of my previous Arduino post, I want to build my "learning timer" into a stand-alone project, with its own battery and enclosure. While I could just transfer the circuit exactly as it is to some proto board, I thought I'd take the opportunity to see how much more I could shrink it down.
There are a lot of pages on the web with "minimal" Arduino circuits, but (like the Shrimp) most of them are designed for in-circuit programming. If I were to program the AVR ATmega chip elsewhere, and just plop it into the circuit when it's done, then I don't need any of that. This enables me to remove the serial header as well as the capacitor and resistor needed to reset the chip once it is programmed.
The next external component to consider is the crystal. Although almost all Arduino circuits use a crystal at 16MHz, the ATmega chip will also work at (roughly) 8MHz using an internal RC oscillator. Removing the crystal is not as simple as just taking it out, though. For the microcontroller to work without a crystal, it needs some internal settings ("fuses") to be set, and these are normally set for use with a crystal as part of programming the bootloader. Having built an "ISP" programmer last time, I can now program any bootloader I like but, unfortunately, the Arduino IDE did not come with a bootloader for 8MHz RC operation. A bit of searching turned up that I need to add an entry to the file boards.txt located in the Arduino program folder.
The Arduino documentation mentions an entry ATmega328 on a breadboard (8 MHz internal clock), but there is no such entry in the file. I found a few possibilities in Q&A forums, but none were quite complete. To cut a long story short, the final entry which worked for me is:
atmega328bb.name=ATmega328 on a breadboard (8 MHz internal clock)

atmega328bb.upload.protocol=stk500
atmega328bb.upload.maximum_size=30720
atmega328bb.upload.speed=57600

atmega328bb.bootloader.low_fuses=0xE2
atmega328bb.bootloader.high_fuses=0xDA
atmega328bb.bootloader.extended_fuses=0x05
atmega328bb.bootloader.path=arduino:atmega
atmega328bb.bootloader.file=ATmegaBOOT_168_atmega328_pro_8MHz.hex
atmega328bb.bootloader.unlock_bits=0x3F
atmega328bb.bootloader.lock_bits=0x0F

atmega328bb.build.mcu=atmega328p
atmega328bb.build.f_cpu=8000000L
atmega328bb.build.core=arduino:arduino
atmega328bb.build.variant=arduino:standard

# remove this line if you want to program the chip normally
atmega328bb.upload.using=Arduino as ISP
I wanted to use my ArduinoISP to program the microcontroller chip before use, but every time I tried, the code would not even compile, giving pins_arduino.h: No such file or directory. If you get this error, the answer is the line atmega328bb.build.variant=arduino:standard. This line tells the compiler to build using the standard Arduino pin names.
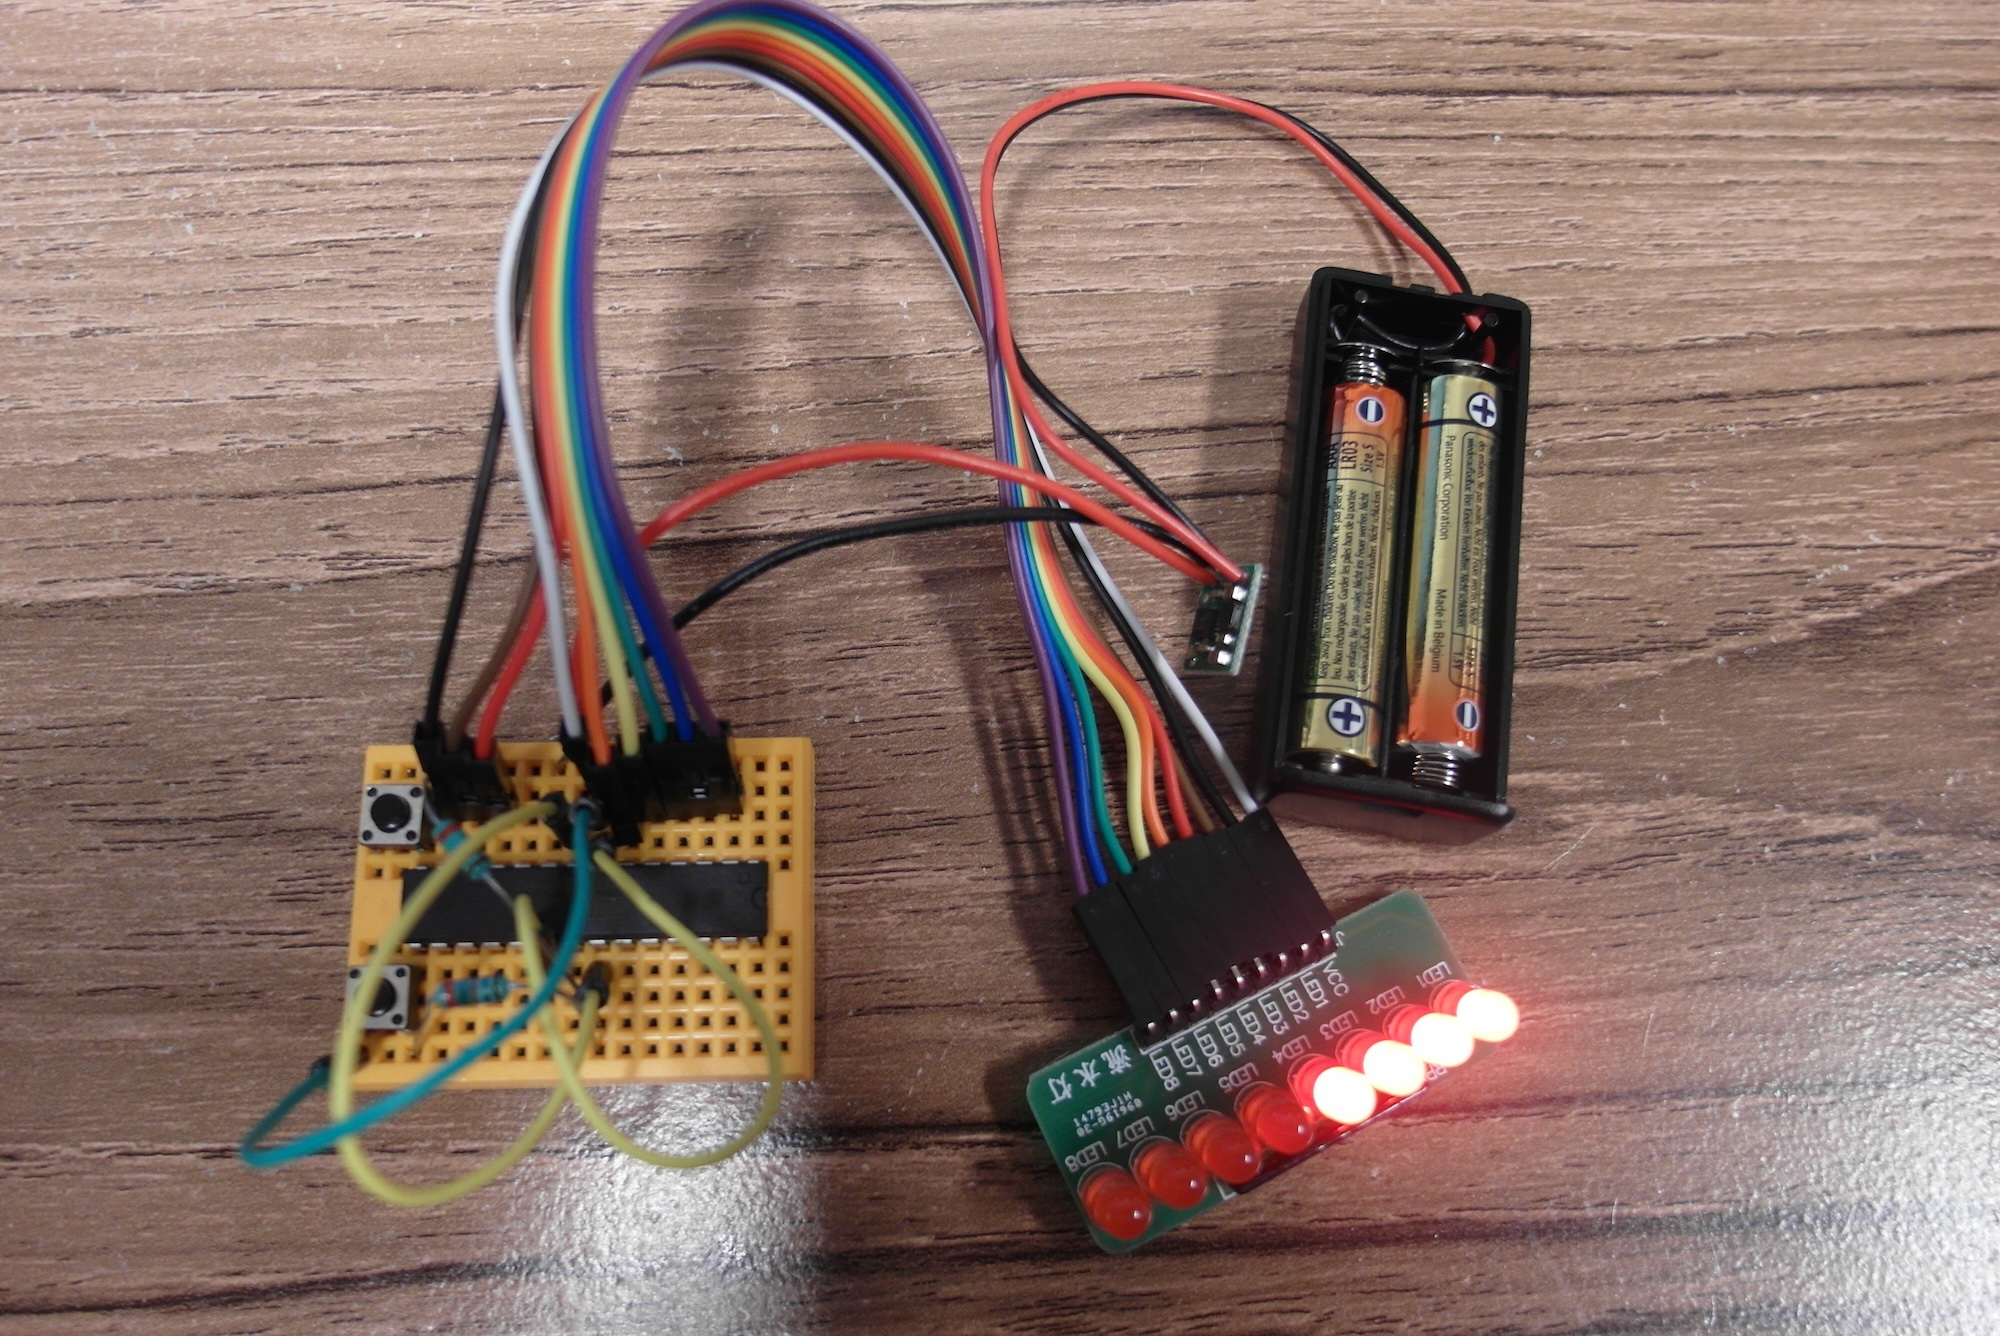
Now that I have compiled and programmed the microcontroller I need to test it in the simplified circuit. I built it on yet another breadboard (smaller this time, of course), and did not bother with the buzzer for now. My objective was to see if the circuit even works, and the LED array and buttons is plenty for that. Having wired it all up, there remained the question of power. I want this to be small and efficient, so a 9V battery and a regulator (even a low-loss one) was not really an option. Instead, I went for a pair of AAA batteries and a 5V step-up board from pololu. This board is tiny, but does the job admirably. I soldered it to the leads from a battery box and plugged the free ends in to the breadboard. My minimalist learning timer was running!
I think I am now pretty much ready to commit to a soldered version. Aside from the proto-board, wires and the enclosure, the final parts list is as follows:
1 x AVR ATmega 328P
8 x LED
1 x 8-way 470 Ohm resistor pack
2 x momentary buttons
2 x 10K Ohm pull-down resistors for buttons
1 x piezo buzzer
1 x 100 Obm resistor for buzzer
1 x Pololu 5V Step-Up Voltage Regulator U1V10F5
1 x SPST power switch
1 x double-AAA battery box