It's been a while since I did any assembly, but I seem to have built up a pile of bits again, so it's time to break out the soldering iron...
First in the queue is the RPi MCB (Motor Control Board), the first hardware product from Ryan Walmsley (the Rastrack guy).
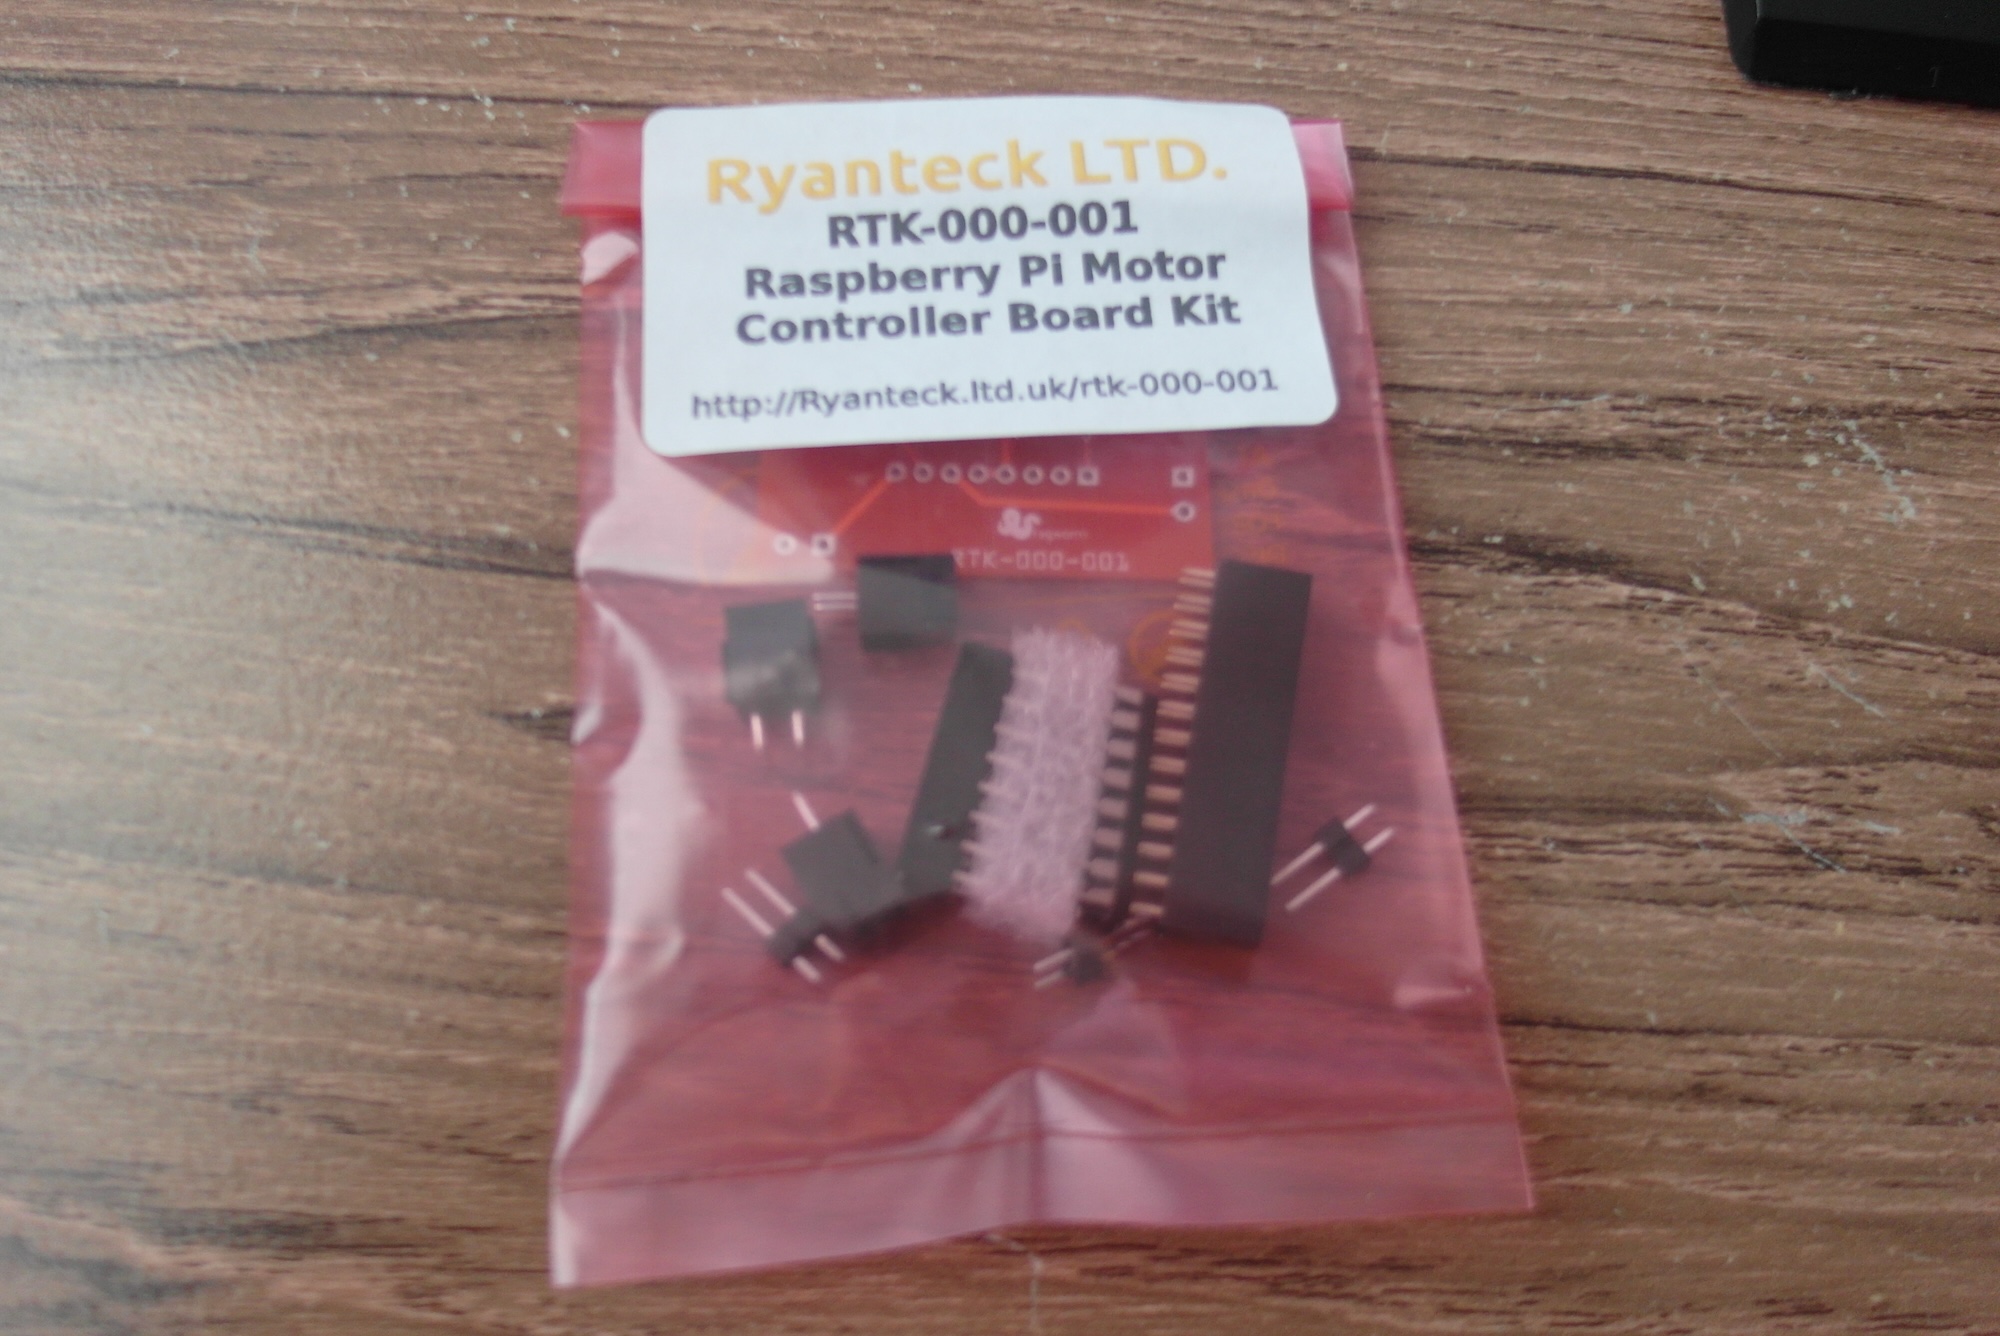
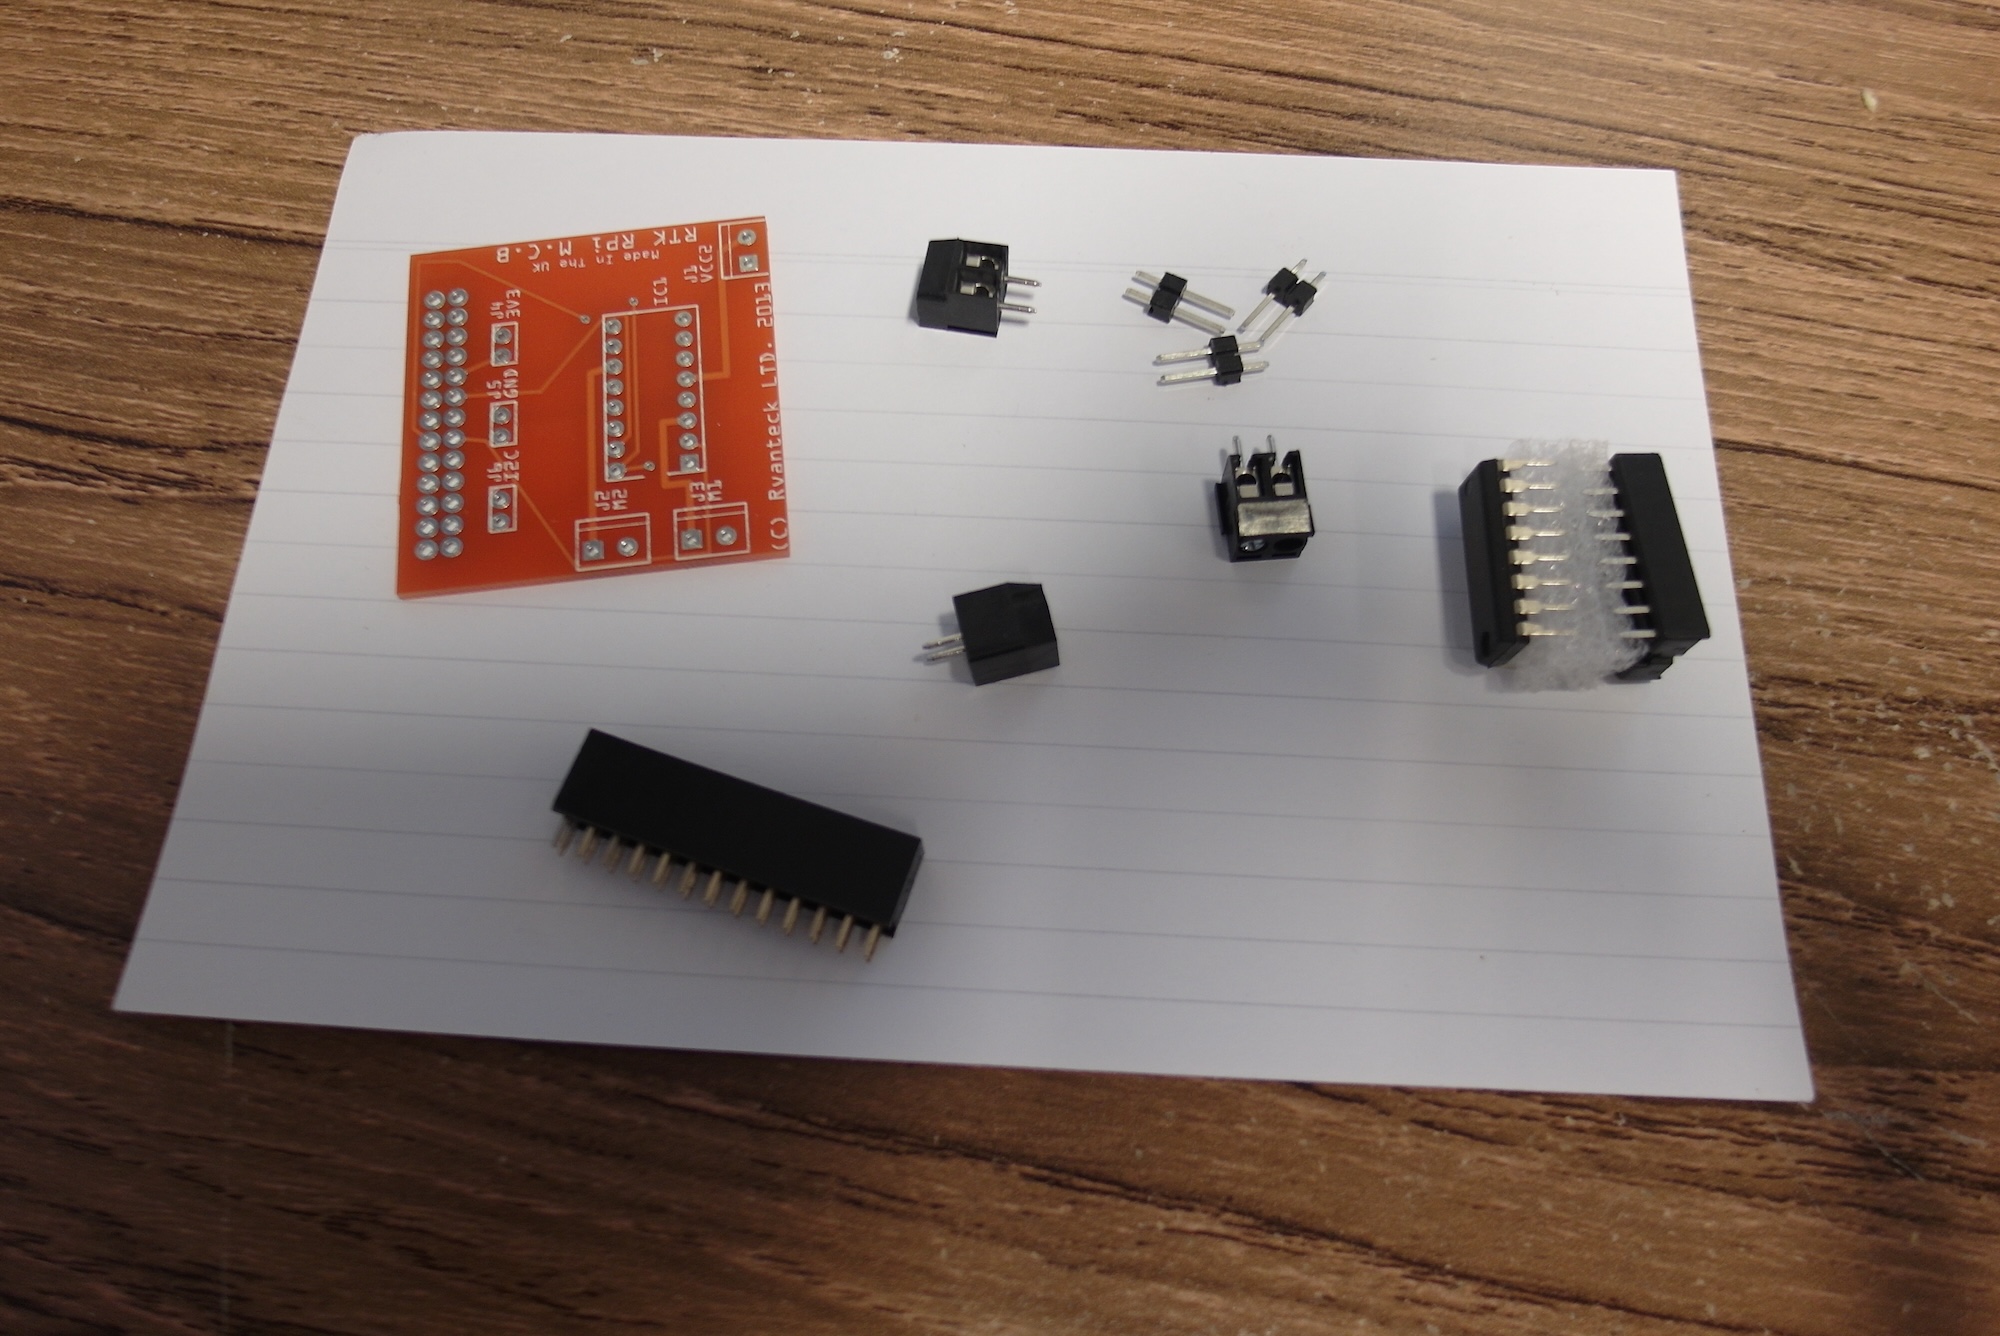
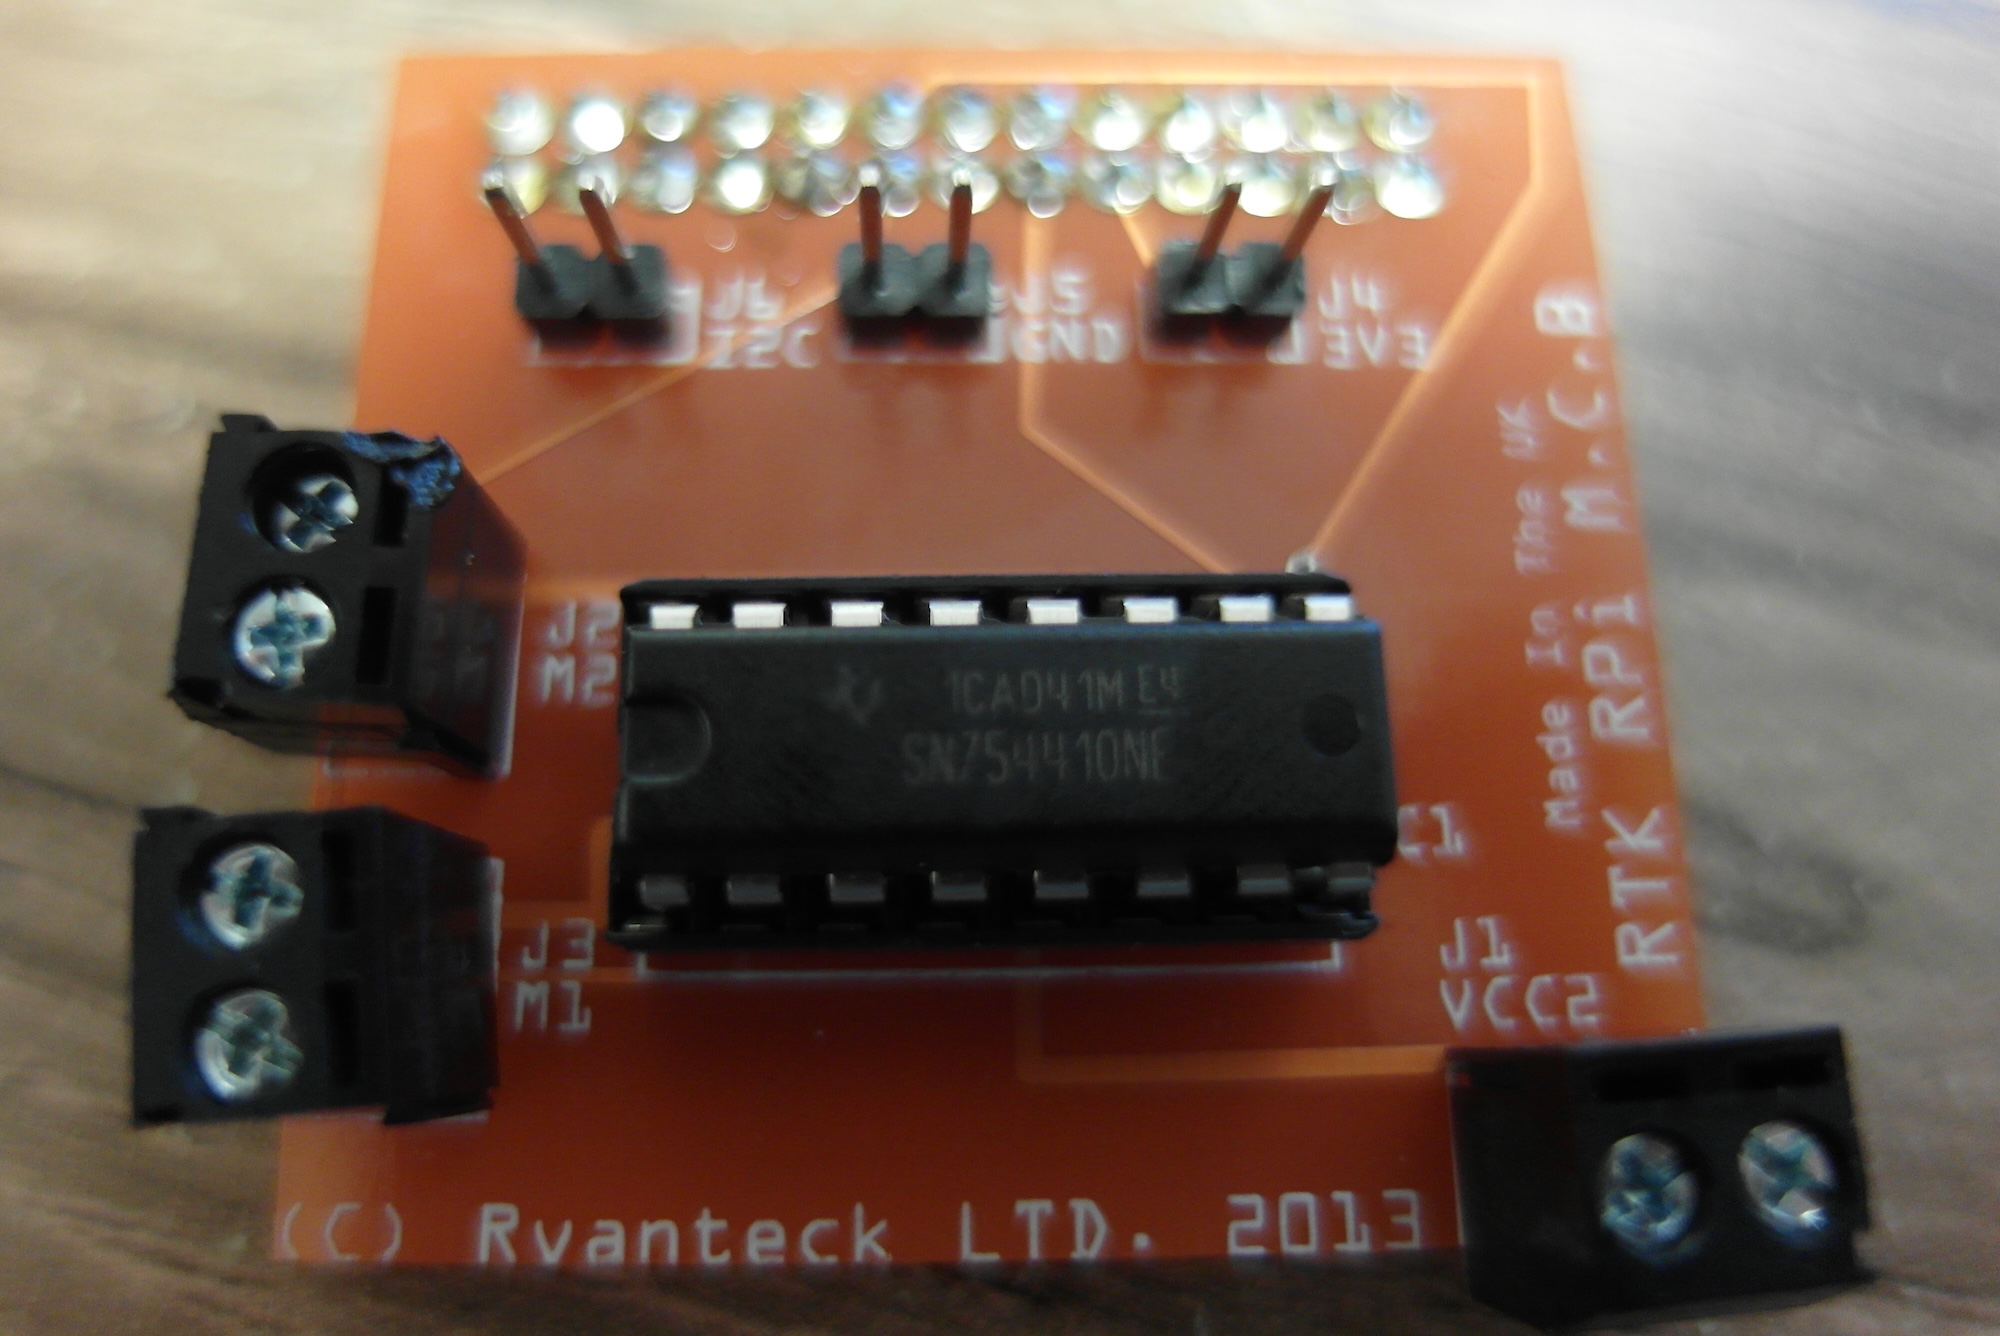
This is an interesting item in many ways - financed through the hybrid-crowdfunding site Tindie, it shows that with a bit of creativity and perseverance, anyone can stand a chance of making and selling electronic stuff. It's a pretty simple circuit, essentially just a SN754410NE chip and some connectors, but it still manages to provide a useful addition to the Raspberry Pi.
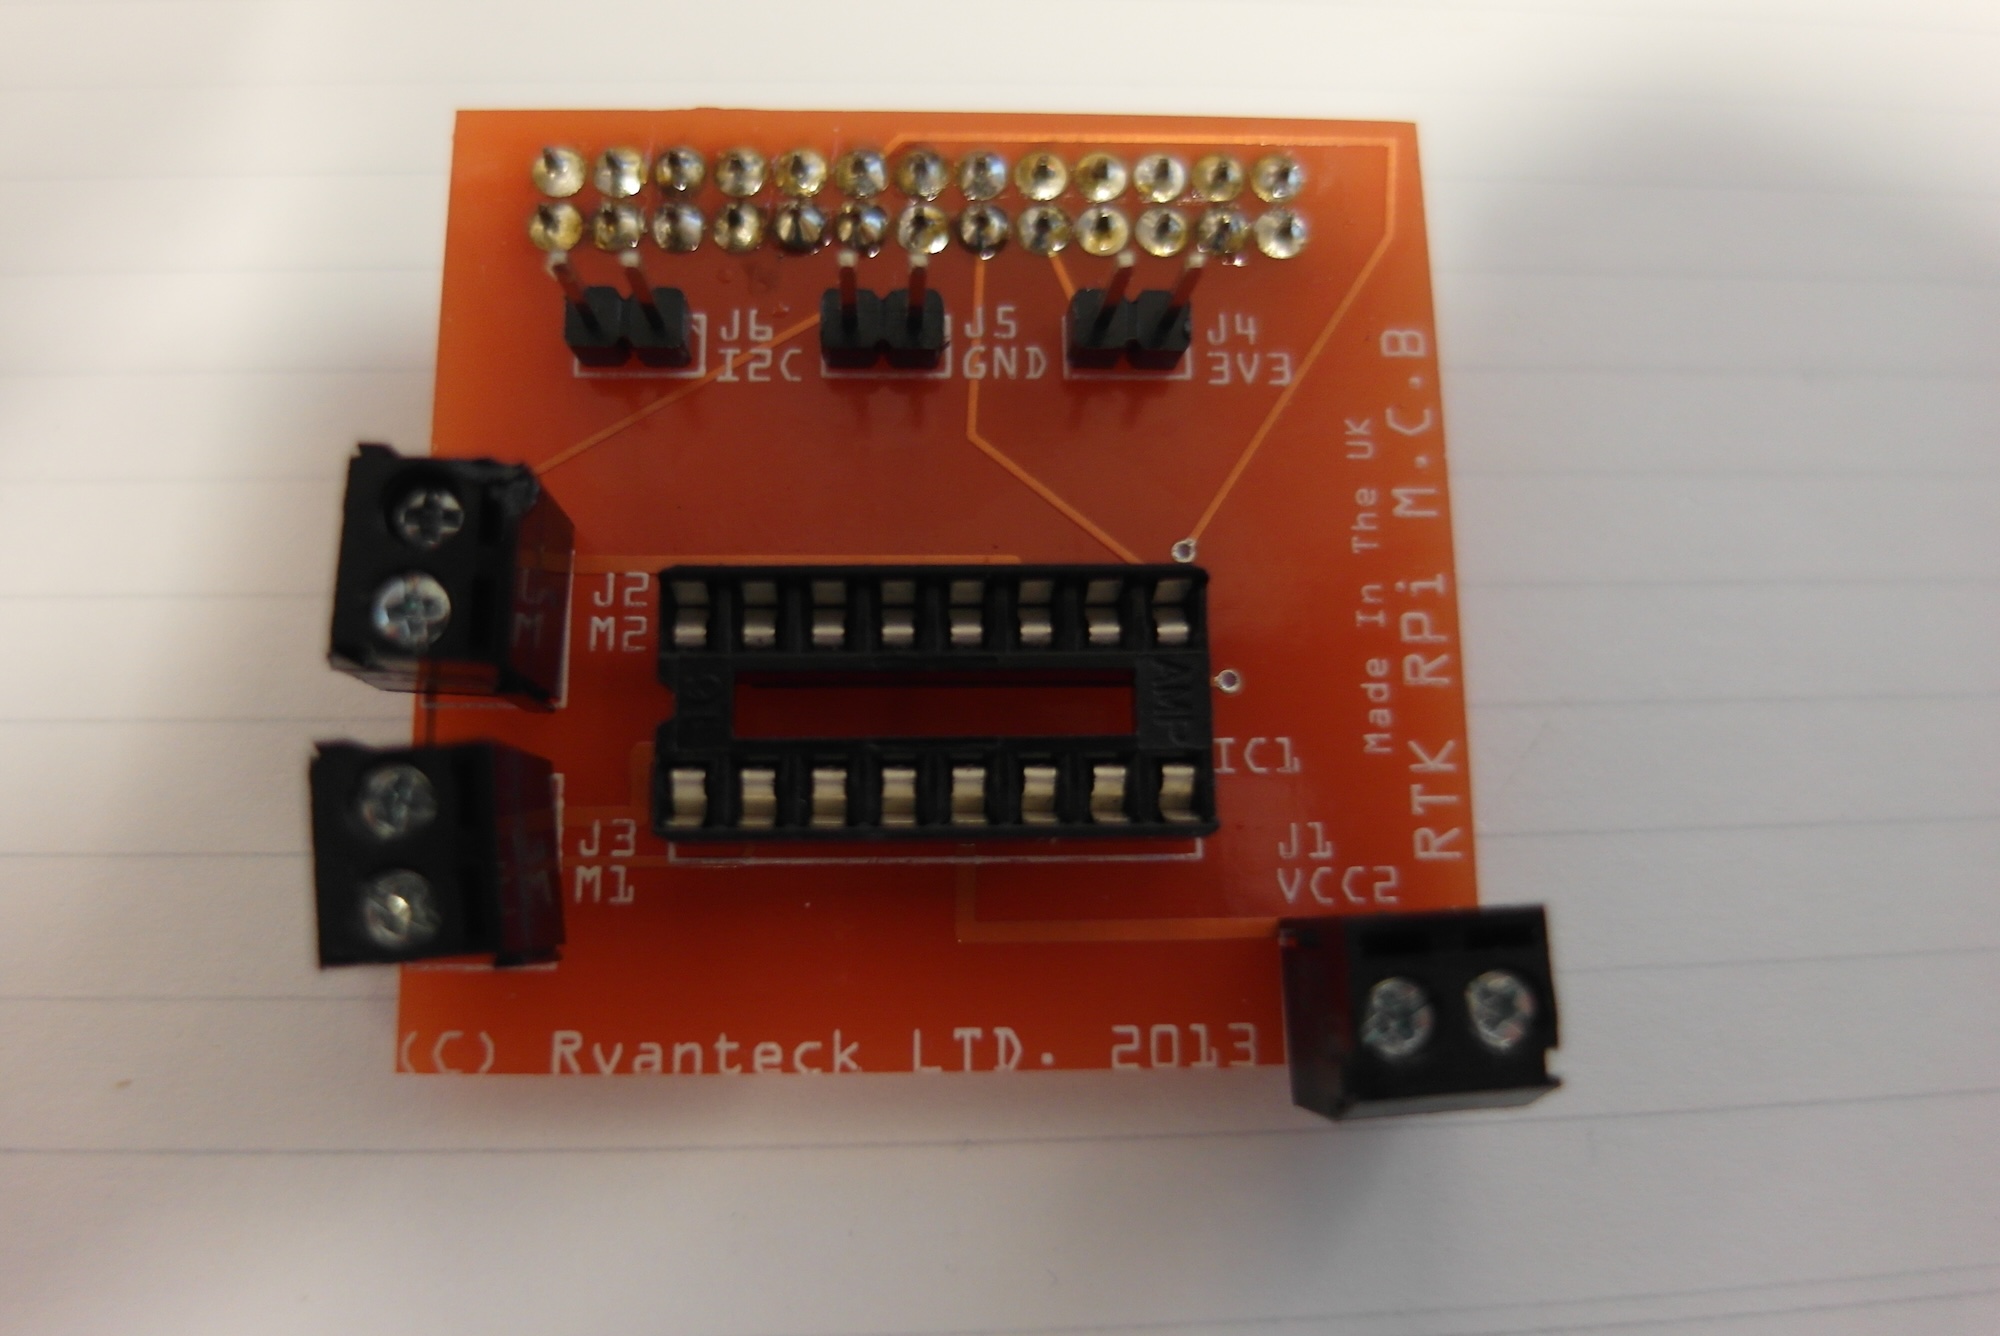
Assembly was pretty simple, following the on-line assembly instructions although the screw terminals needed a bit of a wiggle and push to get them fully seated. This is probably a good thing, as it both made them easier to solder, and might even help keep them solid in the face of vibration.
Once I had all the components in place, I thought I'd have a go at doing something with it, but was brought up short by the following comment at the bottom of the assembly instructions
Next why not visit our simple coding tutorials at <Coming soon!>
There are actually a few small hints (GPIO pin numbers and so on) on the RPi MCB product page at Ryanteck, and some more in a Google Document but it is a bit disappointing that the assembly page doesn't even include any way of testing that it has been assembled correctly.
Eventually I did manage to test it out. The example code in the Google document did work (when run using sudo) but as it is an infinite loop it never got to the GPIO cleanup, and thus left the motor running. After a bit of scrabbling with a battery connector I stopped it by removing the power. The lack of a GPIO cleanup also led to a lot of complaints about pins in use. As a more friendly test, I suggest:
##Simple motor script for the RTK-000-001
import RPi.GPIO as GPIO
import time
#Set to broadcom pin numbers
GPIO.setmode(GPIO.BCM)

#Motor 1 = Pins 17 and 18
#Motor 2 = Pins 22 and 23
GPIO.setup(17, GPIO.OUT)
GPIO.setup(18, GPIO.OUT)

#Sleep 1 second then turn 17 on
GPIO.output(18, 0)
time.sleep(1)
GPIO.output(17, 1);
time.sleep(2);
#And now the other way round
GPIO.output(17, 0)
time.sleep(1);
GPIO.output(18, 1);
time.sleep(2);
#And final cleanup
GPIO.cleanup()
which just turns each way once for two seconds, then stops and cleans up.
In conclusion, this is a nice, simple little board which "does what it says on the tin". It could do with a bit more thought on testing the board as part of assembly, but essentially it works.
Well done Ryan, I look forward to more ideas!