I was very excited to read about the new PiFace Control and Display board. On a first look at the spec it seems to have a really sweet set of features. A two line display, some general purpose buttons, a left/right/click joggle wheel and an infra-red sensor. This little board opens up a world of possibilities for using the Raspberry Pi as a standalone device without a screen, keyboard or mouse.
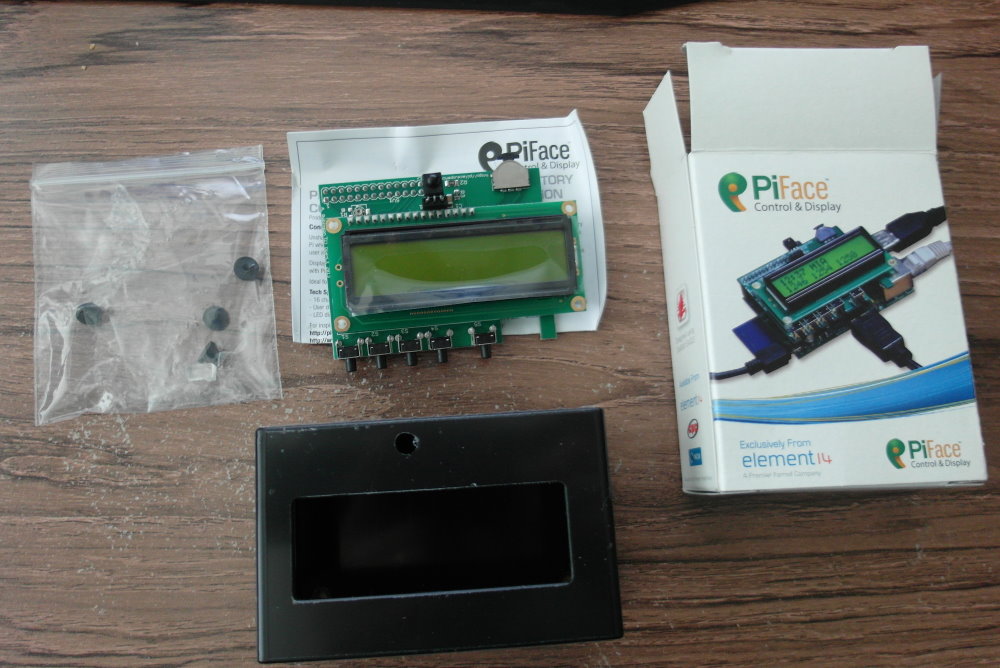
I was particularly impressed at the price. Farnell has it for just £21 - less than the price of a USB infra-red dongle on its own. I ordered one straight away and it arrived today! As a side note, I also ordered the special Raspberry PiPiFace Control and Display case for it, but that's a story for another day.
Keen to get started I began by following the "operating instructions" linked from the Farnell page. These were a reasonable start, but did have a few problems.
I started with a fresh image of the latest Raspbian (2013-09-25) from the official downloads page. When it started up I used the options in the initial raspi config screen to expand the SD card partition and enable SPI (this is in the "advanced" submenu, but it is needed for the display to work. The instructions leapt straight in to sudo apt-get install python3-pifacecad but this did not work for me. I needed to do sudo apt-get update first.
Once I had installed the pifacecad driver, I followed the instructions and tried: python3 /usr/share/doc/python3-pifacecad/examples/sysinfo.py.
It kind of worked, but the LCD was barely visible. If I twisted it around to look at it from odd angles, I could get hints that there was something on the screen. The document I was following seemed to be aware of the problem, but just offered:
If your LCD has nothing appearing on it or its character spaces are all black, try adjusting the contrast screw with a small star head screwdriver.
Unfortunately it completely fails to mention where to find the mystery "contrast screw".
A bit of googling led me to some more PiFace Control and Display documentation at github. This did at least describe where the contrast screw might be found. In case anyone else is in a similar position, here's a photo of me adjusting it!
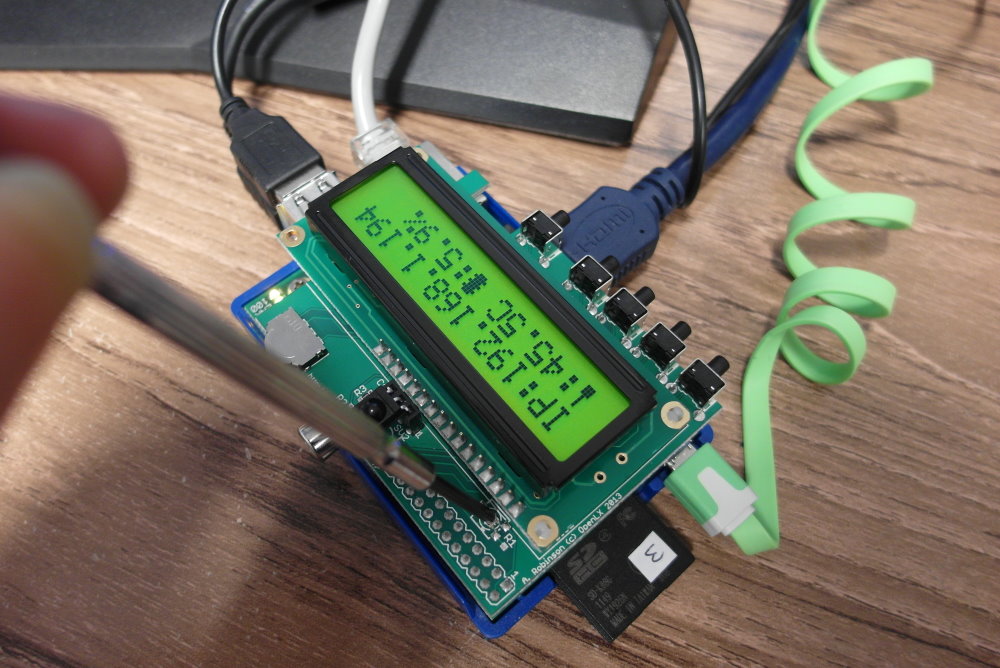
A bit of twiddling made it nice and black. The python command to display the IP address and so on is all very nice but I wanted to move on to other stuff, so I exited it with ctrl-C.
The next section of the document concentrated on setting up the infra red remote input. This was not as smooth as the python screen driver, though. The first step was to install and test the lirc_rpi module using sudo modprobe lirc_rpi gpio_in_pin=23 pidof lirc.
The "pidof" just returned to the command prompt. It neither reported a pid number nor gave an error message. I can only assume this means everything is OK. The next step is to test the hardware to see if any infra-red signals are making their way through to the lirc driver: mode2 –d /dev/lirc0.
This gave a splurge of "ulse 621" "pace 543" down the left side of the screen. I'm sorry to say that it took me a few moments to realise that the first character was off the edge of the screen, so it is probably really reporting "pulse" and "space" timings. This did prompt me to give up on direct keyboard and screen, and fall back to my usual ssh access. Handily, I did not need to fiddle around to work out the IP address - it was already on the LCD display!
I wanted to try it out with an old remote handset. I could not find its name in the big list of LIRC remotes, so I went for the "generate your own configuration" approach. It was a bit tedious, but once I realised that the key names were of the form BTN_0, KEY_PREVIOUS and so on, I was away. When I had recorded all the buttons I could find, I rebooted as per instructions and ran irw to test the remote control. This gave me nothing. The hardware is still working, as the mode2 –d /dev/lirc0 command still shows the pulses.
It's entirely possible that the old remote (or its batteries) is at fault here, though. Not all the buttons seem to even send an IR code, and I have no idea how old the batteries are. I'll try again tomorrow with a different remote and see if that makes any difference.
In conclusion I really like this board. It has such a nice set of features and price that I can already imagine lots of uses for it. The documentation is a bit sketchy in places, but that is to be expected. I would have liked a short section on using the buttons and joggle wheel just to prove that everything is working.
As for the hardware design, my main concern is that (as with so many boards) it gobbles up all the pins on the GPIO header, effectively preventing its use as a control interface for other hardware. Even something as simple as providing header pads for SPI and/or i2c would make this much more useful in combination with other hardware. It might be possible to replace the 26-way header with one with longer legs, but the IR sensor is positioned very close to the header and might get in the way of things plugged in.