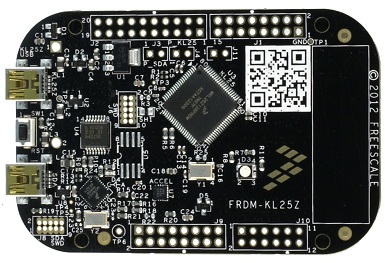
In my continuing quest to get ultrasonic sound information in to a Raspberry Pi so I can do interesting stuff with bat sounds, one of the candidate devices I have identified is the Freescale Freedom KL25z board. Unlike the MCP3002 that I tried to connect to recently, this is not just an analogue to digital converter. It's actually a whole single-board ARM development system, with an ARM Cortex M0+ Core running at 48MHz, 16KB RAM, 128KB FLASH, 2xSPI, 2xI2C, 3xUART, 6xPWM, 6xADC, lots of digital GPIO, 3-axis accelerometer, PWM Controlled RGB LED, and a Capacitive touch sensor. Arguably it's more powerful and flexible than an Arduino, and cheaper too.
For my needs I'm particularly interested in using its fast analog-to-digital converters to get ultrasonic sounds into memory. However, this device should also have enough horsepower to run a "fast fourier transform" (FFT) to convert the sequence of samples into a frequency/amplitude table. This has lots of advantages when attempting to process ultrasonic sounds - once in the frequency domain, the sounds can much more easily be pitch shifted to the audible range. Dealing with sounds in the frequency domain also opens up a lot of options for crunching the data. Different bat species have a kind of "audio fingerprint" - they ping in different patterns at different frequencies - and an expert can usually identify the species quite quickly and precisely. I'm hoping that at some point I will be able to add this ability to my bat detection software.
Not to get ahead of myself, however. Long before any of that I need to make sure that I can work out how to program the KL25z, and how to connect it to the Raspberry Pi.
The box comes with a recommendation to visit http://freescale.com/FRDM-KL25Z for more details. Following a few links leads to a page of development tools and documentation. There are several options, including an "evaluation" of the Eclipse-based Code Warrior development environment and the web-based mbed system. For now I decided to go with mbed as it does not involve installing yet another IDE. I'll see how this works out, and maybe change horses later.
Getting started with mbed on the KL25z first involves installing a custom bootloader. This is a relatively painless process. Cleverly, once the bootloader has been installed, the KL25z appears as a mass storage device containing a HTML document. Opening this document links you to the mbed online service where you can sign up and get access to the web editor, compiler, and libraries of example code.
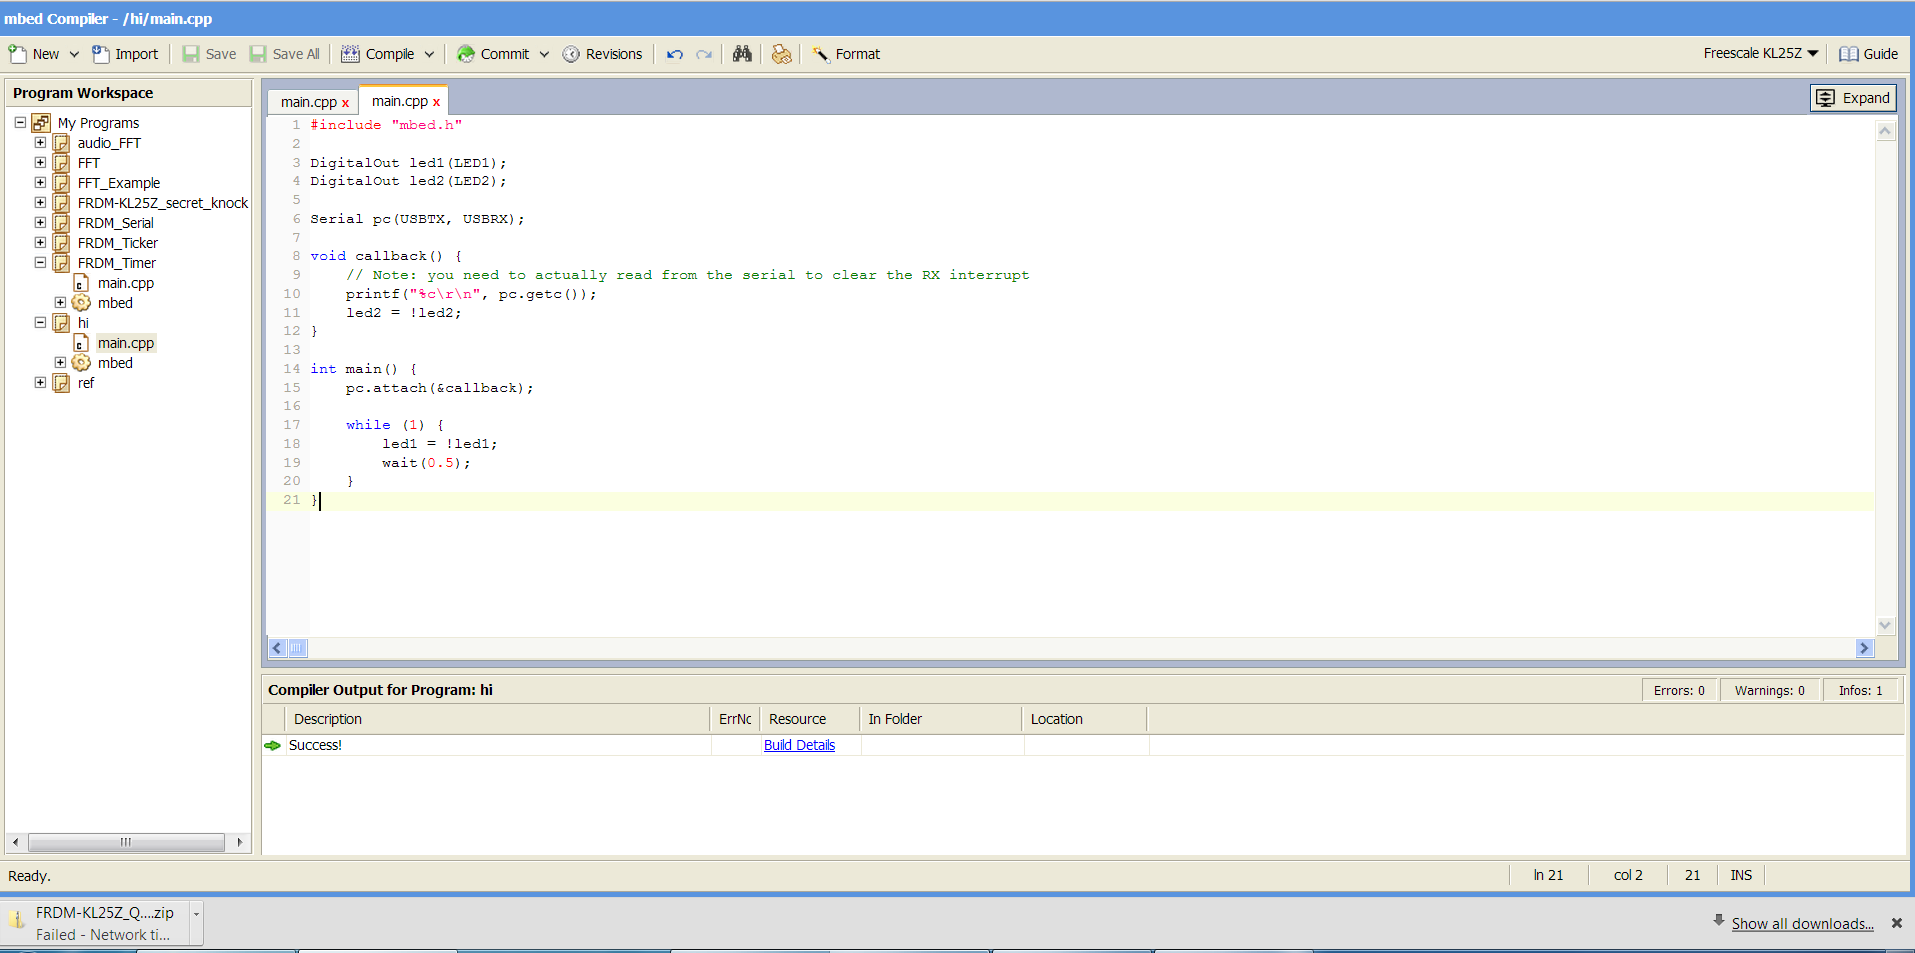
For a web-based IDE this is really impressive. It looks and works very much like Eclipse or Visual Studio, but in a web page. There are lots of example programs, most of which work equally well on the different boards supported by the mbed system, but a few of which need specific hardware devices. I grabbed and compiled several while playing.
One thing did hold me up, though. Somehow I found myself on a "getting started" page which stopped short of telling me how to get the compiled application on to the device. This information is on the web site, but for some reason I could not find it for a while. The bottom line is that the web IDE will download a .bin file if compilation succeeds. Depending on the browser and your settings this may ask where to put the file, or it may just quietly stick it in some standard place ("Downloads", for example). Once you have found the .bin file, all you need to do is copy it to the mbed virtual USB drive, and press the reset button on the KL35z.
Once I had figured this out I had lots of fun trying out and modifying different programs from the library.
The next step was to connect the KL25z to the Raspberry Pi. I set it up with a program which would read and write characters using "standard input" and "standard output" on the KL25z (as well as flashing an LED when characters arrive) and checked that it was working with my development PC. By default, standard input and output are mapped to a virtual serial port using the same USB connector as the mass storage drive for loading software, which is pretty neat, and allows the KL25z to be easily controlled by any USB host.
I plugged the USB cable into the Raspberry Pi and saw that the KL25z started up and began flashing its LED. I then needed to connect the Pi to its USB serial port. I had some worries about this, but (unusually) they were unfounded. The USB serial device was immediately detected. A bit of looking in /dev showed up a new device /dev/ttyACM0. I looked around for software to act as a serial terminal and found lots of people recommending "screen", so I installed it with sudo apt-get install screen and then typed screen /dev/ttyAMC0. My entered characters were echoed back to me and the LED changed colour just as I had hoped.
Getting out of "screen" was another matter. Pretty much whetever I typed was just passed through to the KL25z. The manual recommends Ctrl-A ? to show a list of commands, and with a bit of looking I found Ctrl-A \, but not after I had accidentally created several other windows and got in a bit of a pickle.
I think that will do for now. It's nice to end on a high-note for once!