This is turning out to be a great week for new stuff. Yesterday I got a package of goodies from China and today I got a HotPi board from local Raspberry Pi specialists "The Pi Hut". The board was funded by a kickstarter project. Unfortunately I did not know about it until after the kickstarter had closed, so I had to buy my board on the open market.
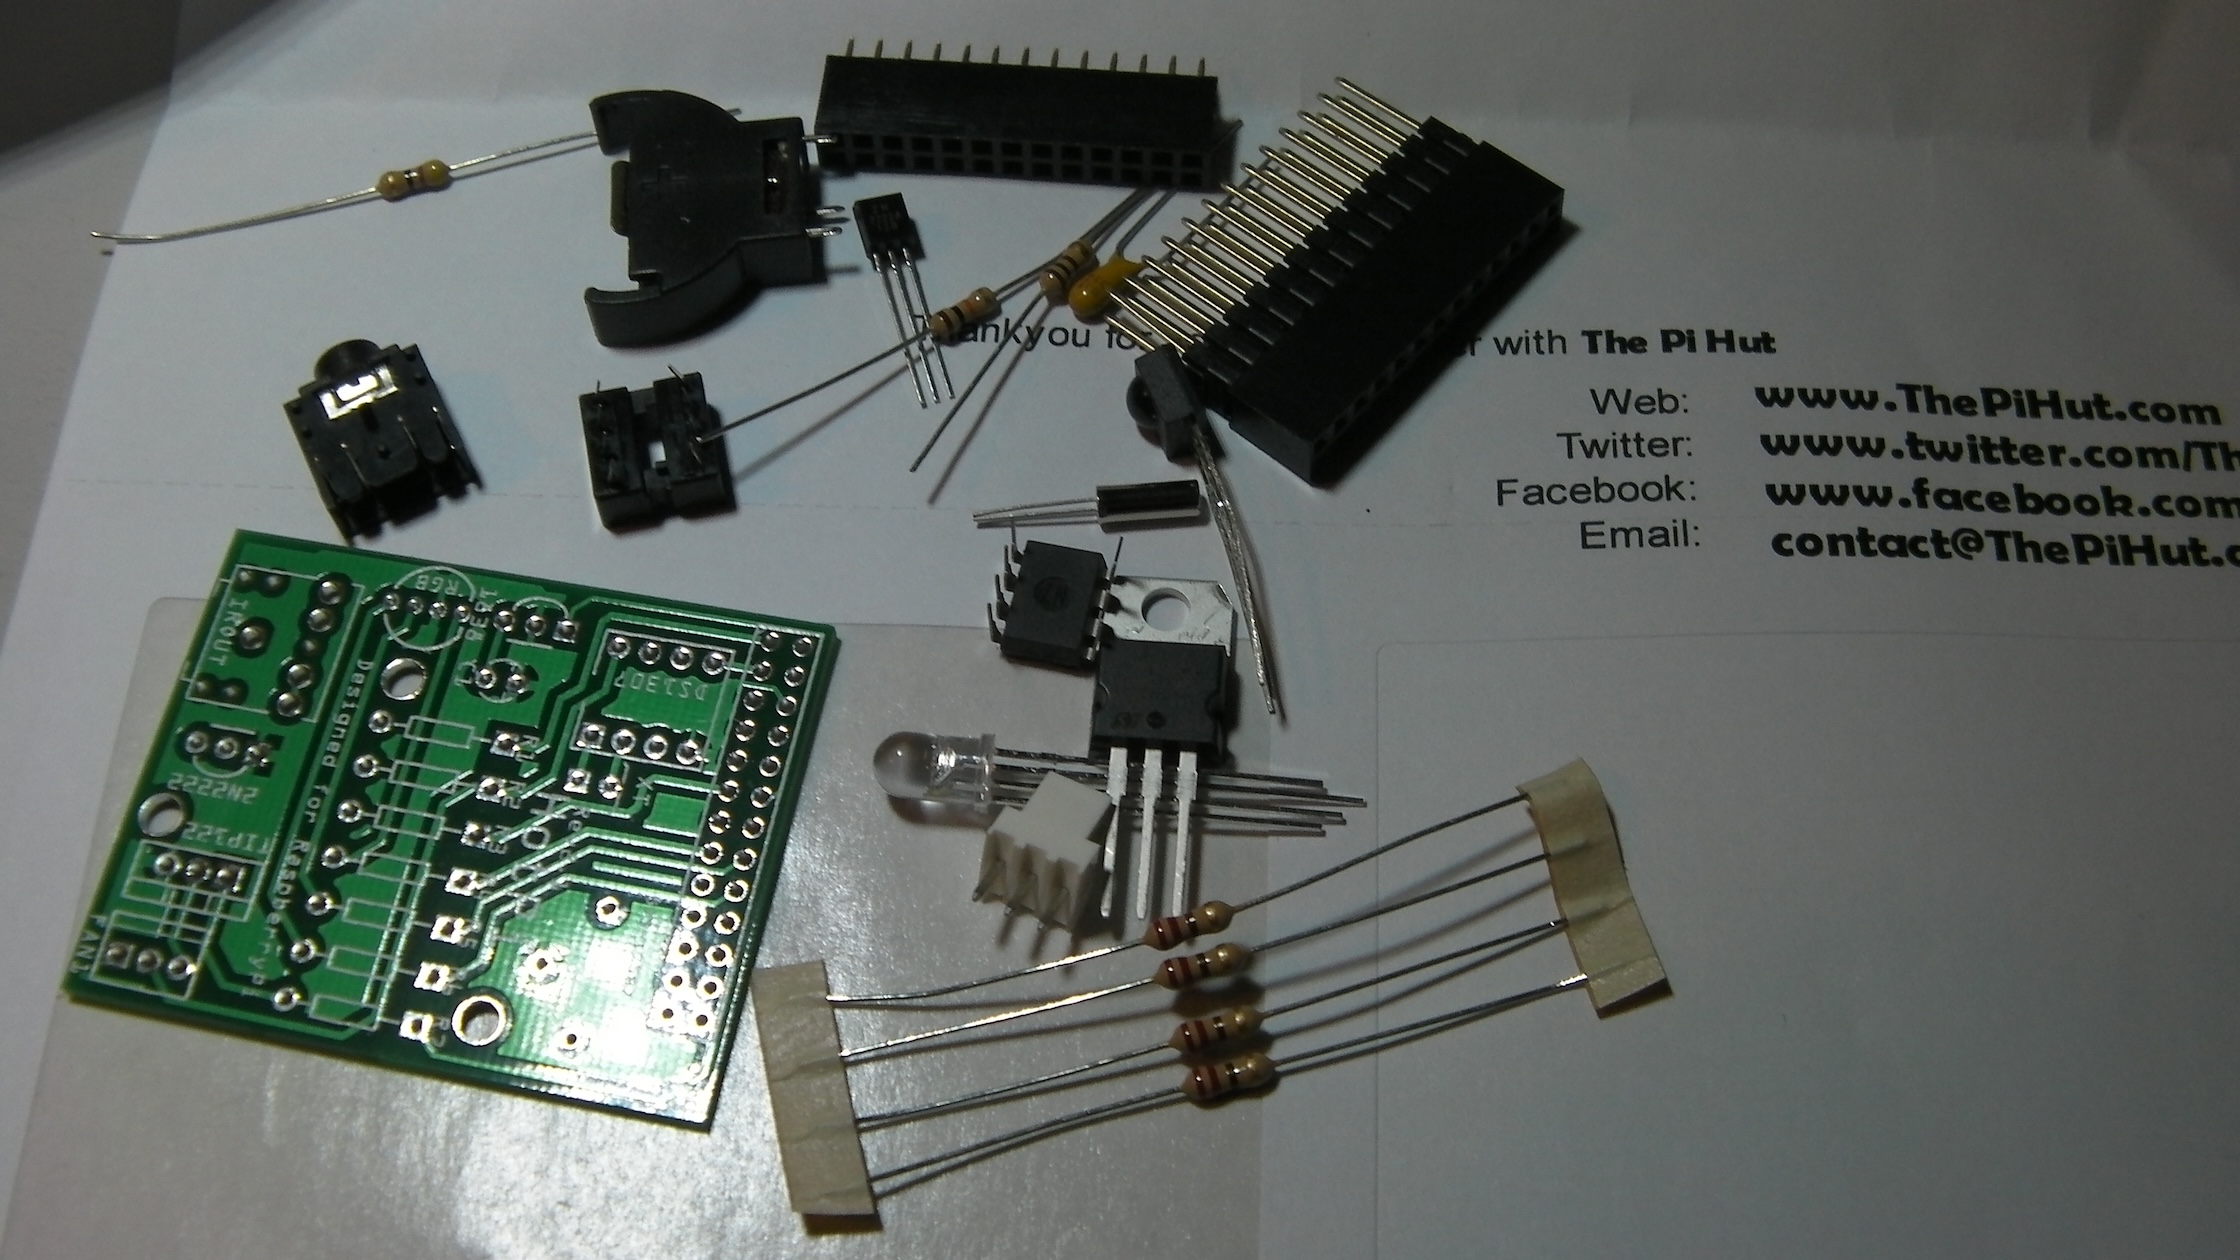
The HotPi is a neat little self-assembly board which includes a battery-backed real time clock (RTC), a tri-colour LED, an infra-red (IR) sensor for use with remote controls, a fan controller, and a socket to plug in a remote IR LED transmitter to control other devices. All in all a nice set of features, and for a good price - it cost me £11.99, about what I paid for a pre-built RTC module on its own.
This time I had learned from my experiences with the pre-build LEDBorg board, so I substituted one of the supplied components. I replaced the regular 26-way header with a long-legged one so that it exposed the full set of GPIO header pins even when the board is plugged in. It added another couple of quid to the price but I think it is worth it. If nothing else I should now be able to use the RTC as it was intended - on a machine without an internet connection for NTP.
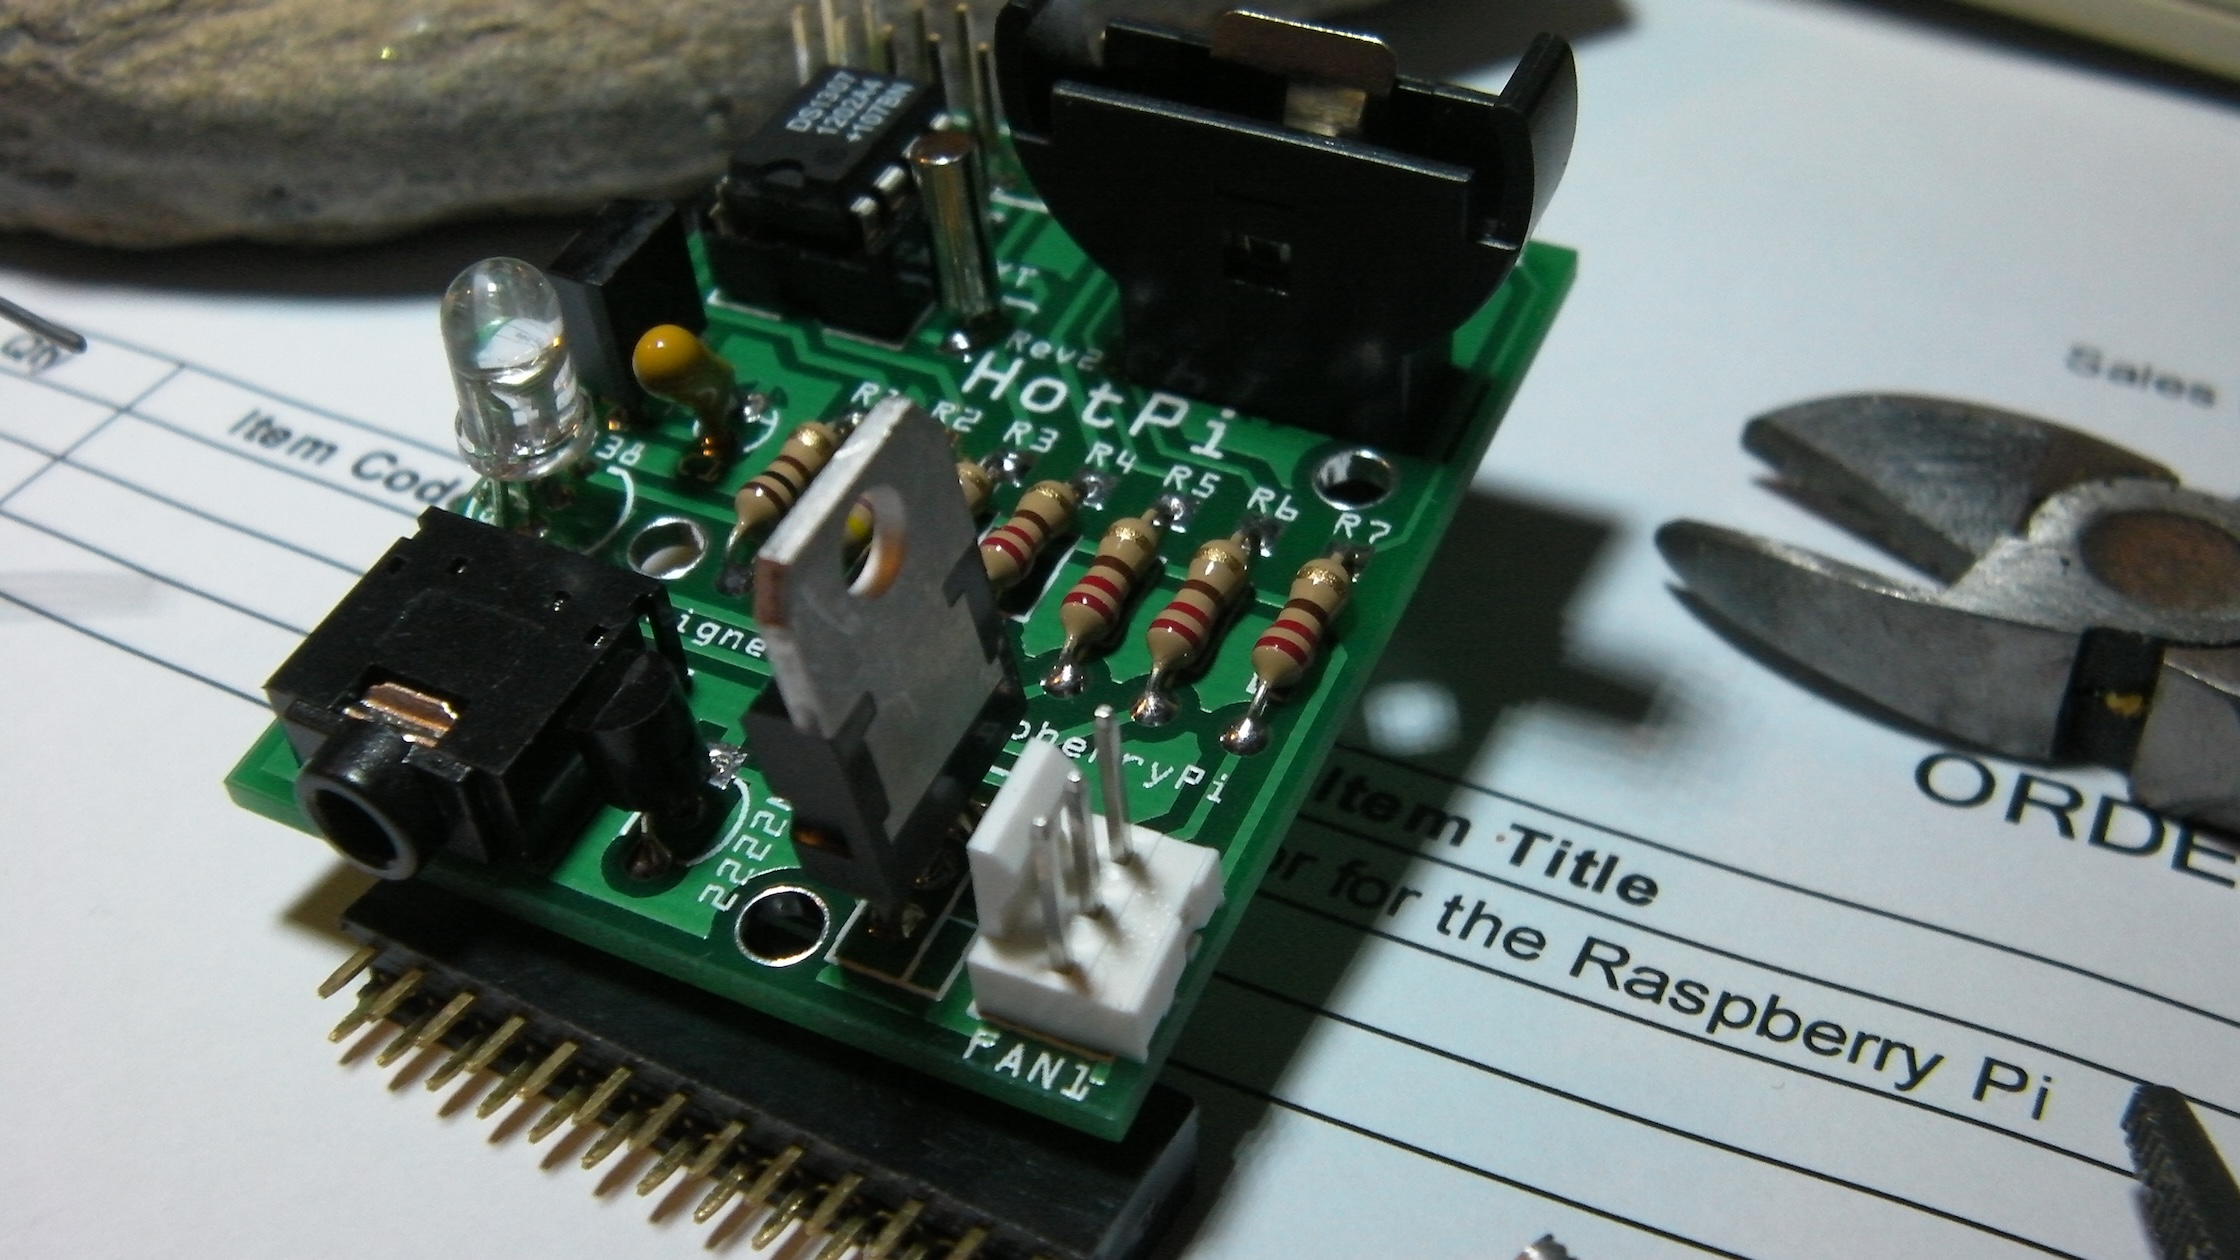
This board was easily the most complex soldering task I have done since starting this Raspberry Pi project. It had not only headers but resistors, transistors, LEDs, a capacitor, a crystal, and a bunch of different connectors. The documentation (sadly still incomplete as I write this) gives a guide to assembling the board with several pictures. I'm quite proud of myself for soldering this board, especially given how neat it ended up looking.
On the whole I think the suggested soldering order is OK, but I would suggest that the IC socket might be better fitted after the 26-way header rather than before. I found it really quite tricky to solder the four header pins nearest to the IC socket without accidentally melting the plastic. I also found it a bit of a shame that there is no larger-scale picture looking down on the fully assembled board to act as a double check that everything is in the right place. My kit came without a battery for the RTC, so I found a CR2032 that I had lying around. I hope this is the right one - the documentation makes no mention of which battery to use; it stops at fitting the battery holder.
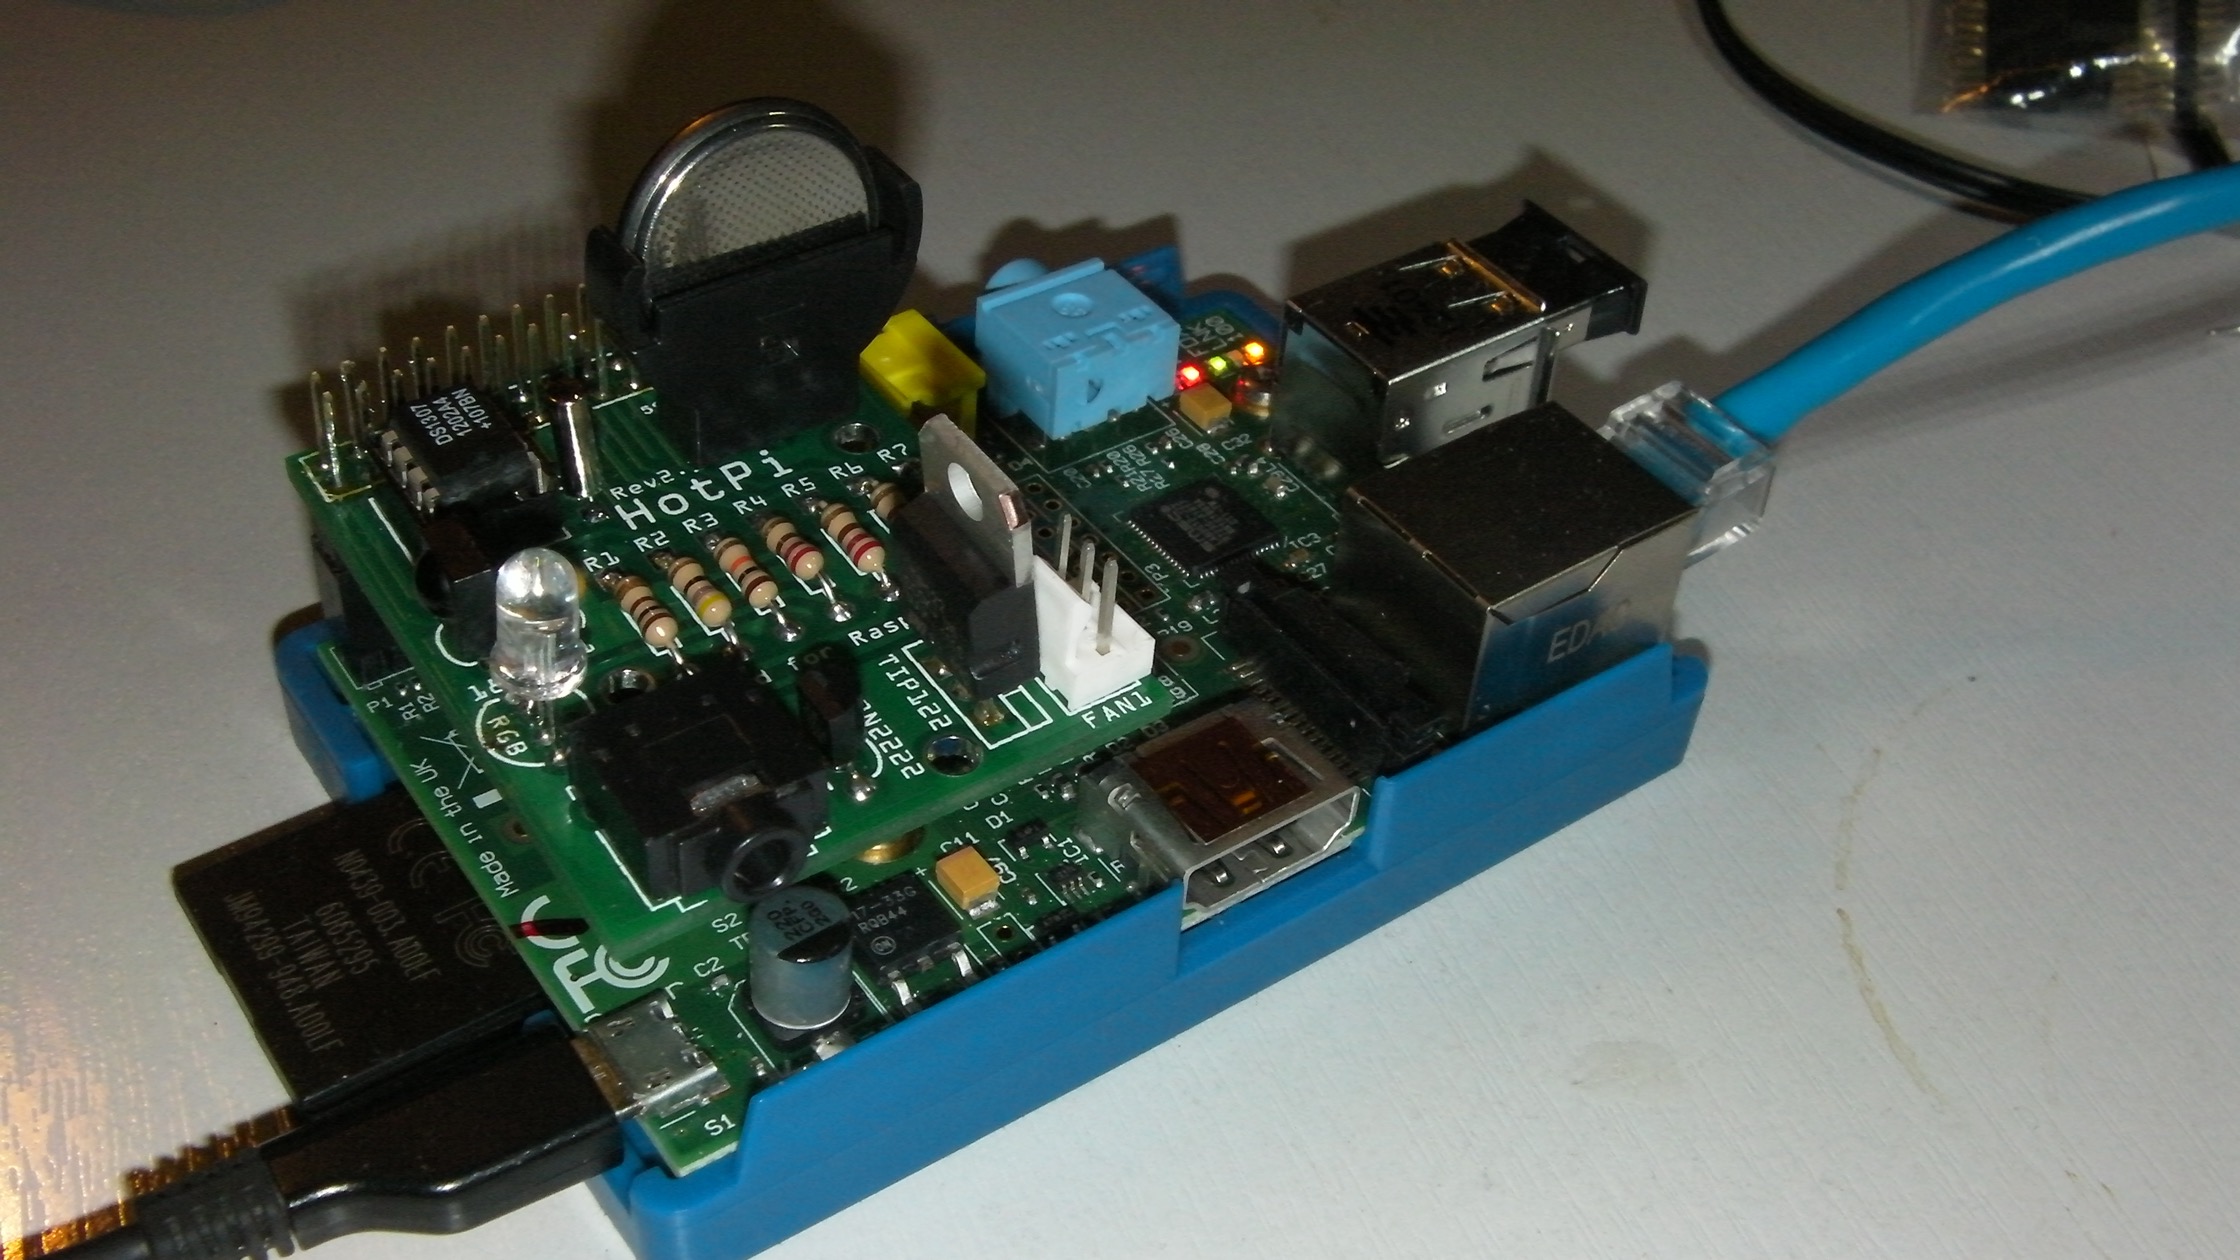
When fitted to the Raspberry Pi it's quite a tall board, probably even taller than the PiFace. The main culprit is the vertical battery holder, closely followed by the TIP122 darlington transistor used to drive the fan. If these two components were arranged horizontally, it's possible that the board would fit inside a regular Raspberry Pi case.
After assembling and visually inspecting the board it was time to plug it in and see if it works. The easiest thing to check was the RTC. I had already gone through the steps to enable i2c while playing with the slice of Pi/O, so a simple i2cdetect -y 1 showed the device at location 68. The documentation gives some installation steps to get the hardware clock working. At the moment the instructions have a few small bugs, but I am sure they will be fixed soon. here's what worked for me
sudo modprobe rtc-ds1307
sudo su -c "echo ds1307 0x68 > /sys/class/i2c-adapter/i2c-1/new_device"
sudo hwclock -r
sudo apt-get install ntpdate
sudo ntpdate -u pool.ntp.org
sudo hwclock --systohc
The first line did not work at first, as the editing process seems to have capitalised the first letter. It should be a small 's'. The second and third steps worked fine, but the next step in the documentation failed because I did not have "ntpdate" installed. sudo apt-get install ntpdate fixed that. The last line failed, too. This one was a bit more subtle, as the error message from "hwclock" did not give much of a clue. It turns out that the editing process has "helpfully" changed two short dashes into one long one. However, the hwclock command expects the two short dashes. sudo hwclock --systohc.
After that I had a working RTC and I reckoned it was time for bed. Tomorrow I shall have a go at getting the rest of the hardware working. This is likely to be tricky, as the documentation is a lot weaker in these areas, with a lot of "todo"s and "coming soon"s.